Plant propagation is for sure something very interesting for a lot of people. How to propagate cactus Using your existing plant is a great opportunity to save money and build up numerous collections.
There is a lot of information all around the internet describing a variety of techniques on how to propagate succulents, but most of the time you can easily get lost and confused, especially if you are starting now.
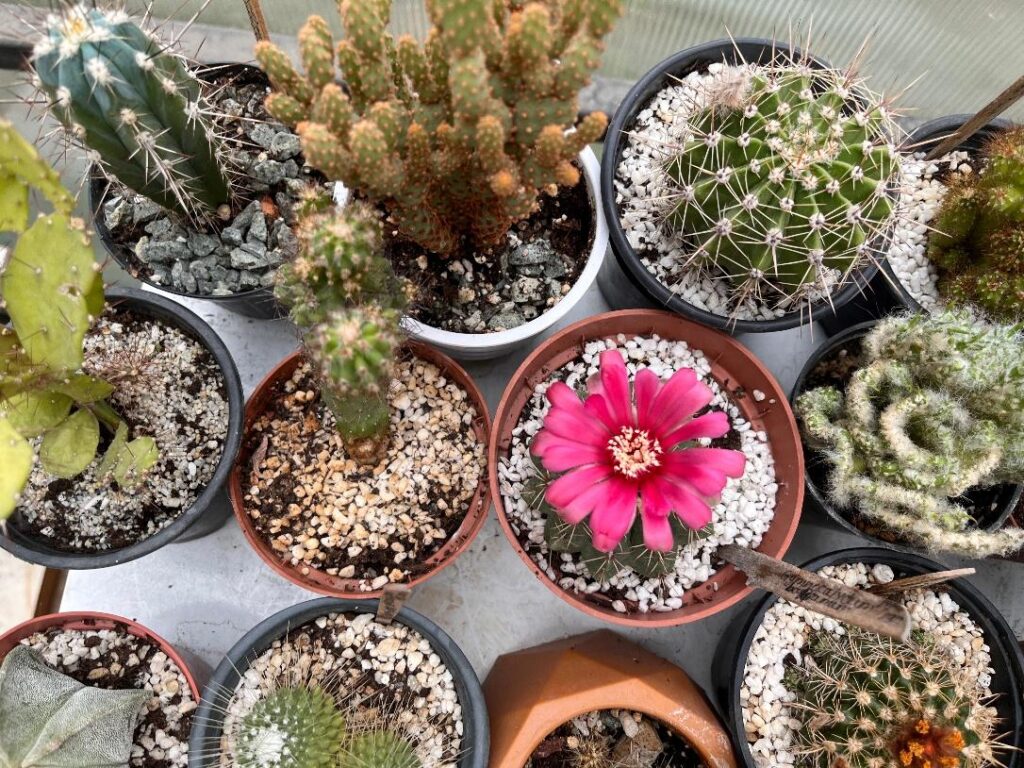
In this article, I pack all the important things to make your life easier and help you gain some experience in cactus propagation.
No matter which of the following ways you choose, have in mind to do the propagation in the growing season when the growth hormones are on the highest level.
Cacti as part of the succulents family are effortless for multiplication.
If you are starting now, propagating Christmas cactus, globular cacti, or columnar cacti are the best choices.
Always prefer direct sunlight instead of indirect light for best results.
What is propagation actually?
Propagation is a process helping you multiply any plant by using different techniques and parts of the plant body.
Cactus as a plant is easy to propagate and there is more than one method that you can use in order to grow more than one plant from a mother plant.
Because of this, people have been searching and testing different procedures and techniques for propagation to grow new cactus plants as fast as possible.
Nowadays, there are various ways to ensure the fast and successful growth of many cacti species. If you are patient enough you may easily learn how to start propagating like a pro.
If you want to start cacti propagation, always read more about the species you are interested in because the method may depend on the species and your area of living.
In this article, you will find all the essential answers for successful cacti growth and propagation.
Do not miss the chance to gain basic knowledge for propagation and to learn all the important steps for each of the mentioned techniques.
Related: Growing Tips and Facts About Jumping Cactus, Desert’s Most Mesmerizing Plant
How to propagate cacti species?
Several ways allow you to propagate succulents and grow a new cactus.
You can grow independent succulents using different parts of the plant body, such as cuttings, offsets, or seeds from a mother plant.
In all of the mentioned methods, there are vital points to be satisfied to start propagating the right way. Some of them are:
- Choosing a healthy mother plant for offsets
- Using a sharp, sterile tool for taking the cactus cuttings
- Making the right soil mixture for the plants you want to propagate
- Further care, especially in the first weeks after propagation
In the last decade, an exciting way to grow unique species is the grafting technique, which I will explain later in the article.
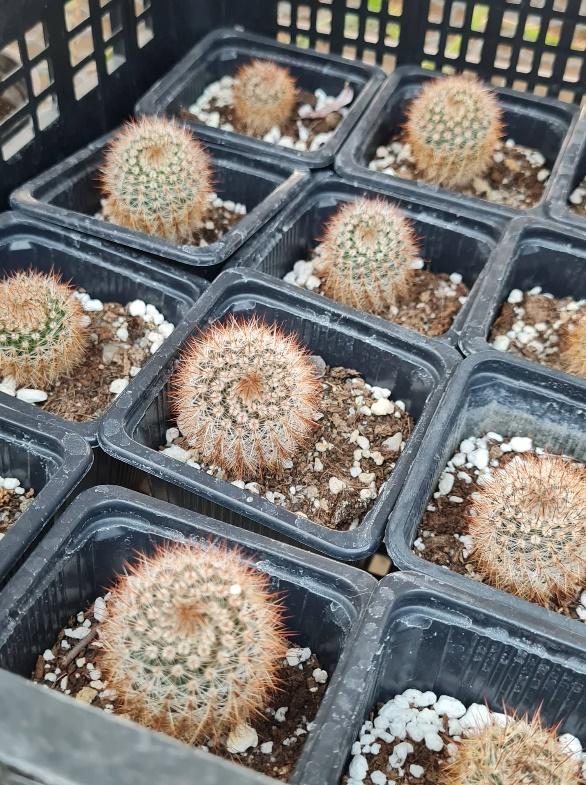
Explaining the propagation techniques
To propagate a cactus, you must know what options are available for each species and what suits you best to grow the one you want well.
You have several choices for cactus propagation. Below I will list and explain in detail all about the different techniques and how to use them to grow more cacti plants.
- Cactus cuttings propagation
- Offset propagation
- Propagate broken cactus parts or cactus pads
- Seed propagation
- Grafting techniques
Each of these five techniques follows three main steps explaining how to apply the method.
STEP ONE – HOW TO START
STEP TWO – HOW TO ROOT, PLACE OR POT
STEP THREE – FURTHER CARE AND WATERING
HOW TO PROPAGATE FROM CUTTINGS
One of the easiest propagation methods is cutting propagation.
If it is your first time trying cutting propagation, I will help you understand how and give you detailed explanations and propagation tips that will lead to great success.
As the easiest cactus species for propagation, I suggest Prickly Pear (Opuntia), Pincushion cacti (Mammillaria), columnar cacti (Echinopsis, Echinocereus, Trichocereus), Christmas cacti (Schlumbergera).
If you choose Opuntia, remember that the cactus body is covered with tiny pricks that may not be visible at first but are unpleasant when they attach to your skin.
To avoid skin irritation, always protect your hand pales and use tools that will help you hold the plant body without skin contact.
Step one – How to take cuttings
To start cactus cuttings propagation, you need fresh stem cuttings from the chosen plant.
Pay attention to the cutting you take from the healthy stem of the mother plant.
As the best area for the cutting cluster, you should go for the top of the plant without exceptions.
The way you should proceed is to pick some stem segments and then cut them whenever you feel that the tissue is healthy. Your cutting tool must be sterile before use to avoid spreading fungal diseases. Proper sterilization can be done with 70% Ethanol or 3% Hydrogen Peroxide.
Step Two – Rooting
Before moving forward, it is essential to ensure that the cactus cuttings you are about to take have healthy tissue and are firm on touch.
If you want your cutting to root successfully, always leave it aside for a few days to form a callus tissue.
It usually takes around 3-5 days for callous to develop, and after this period, you are ready to go on to the next step.
There are some great rooting agents, except the regular rooting hormone, that you may use to induce faster rooting.
One option that is probably mainly used is putting cinnamon on the cutting. This substance acts as a naturally antimicrobial substance that helps faster root production.
Another one, maybe one of the oldest garden components, is sulfur powder. There are many uses of powdered sulfur in the garden, but when it comes to easy rooting, it stops rooting fungi from germinating and allows the plant to form callus tissue and roots faster.
Step three – Further care for the new plant
When your plant is rooted and ready for a single life, you should consider different conditions to grow a healthy and mature succulent or cacti species.
Considering well-draining cactus, soil guarantees that your plant will grow well and achieve mature size later.
When buying a commercial mix or one at home, ensure that the water flows easily out of the pot and does not retain around the root. By providing a healthy surrounding, your succulent plant will grow faster and more robust, proving that your propagation is successful.
Related: Fishbone Cactus: The Only Care, Propagation, and Watering Guide You Need
HOW TO PROPAGATE FROM OFFSETS
When a plant reproduces asexually, we can see new growth of a daughter plant, a clone of the mother plant, called offset or pup.
Since not every cactus produces offsets, this method is limited for some cacti species.
Suppose you are willing to try offset propagation. In that case, the cacti species to go on with are: Mammillaria, Rebutia, Echinopsis, Notocactus, Trichocereus, Tephrocactus, etc.
If no roots are developed on the offset, it is better to wait a few days for the callus to form before transplanting the new piece into a different pot.
For successful propagation, it is best to follow these steps:
Step one – Choosing offset
Once you choose the offset for propagation, you are ready to start with the process of removing. There might be more than one daughter plant that can be separated, but sometimes it is better to leave some unbroken in case you make some propagation mistake.
Step two – Preparations and potting
After collecting all cacti offsets, you need to prepare the potting mix, where they will continue growing later.
As discussed before, well-draining soil and drainage holes are the keys to success for succulent propagation.
Cactus peat mixed with some rocks, pebbles, or other inorganic components such as perlite, pumice, zeolite, etc., may help better and faster root growth.
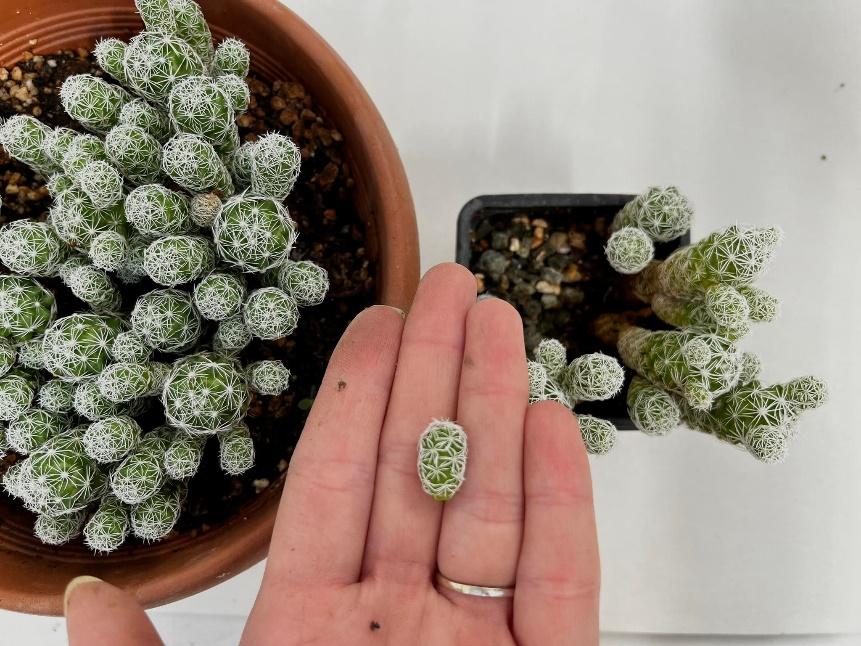
Planting your new cacti species should either spring or autumn for higher chances of success.
Right after you choose the soil, it is time to move on to picking the right size of the container your plant will be moved into.
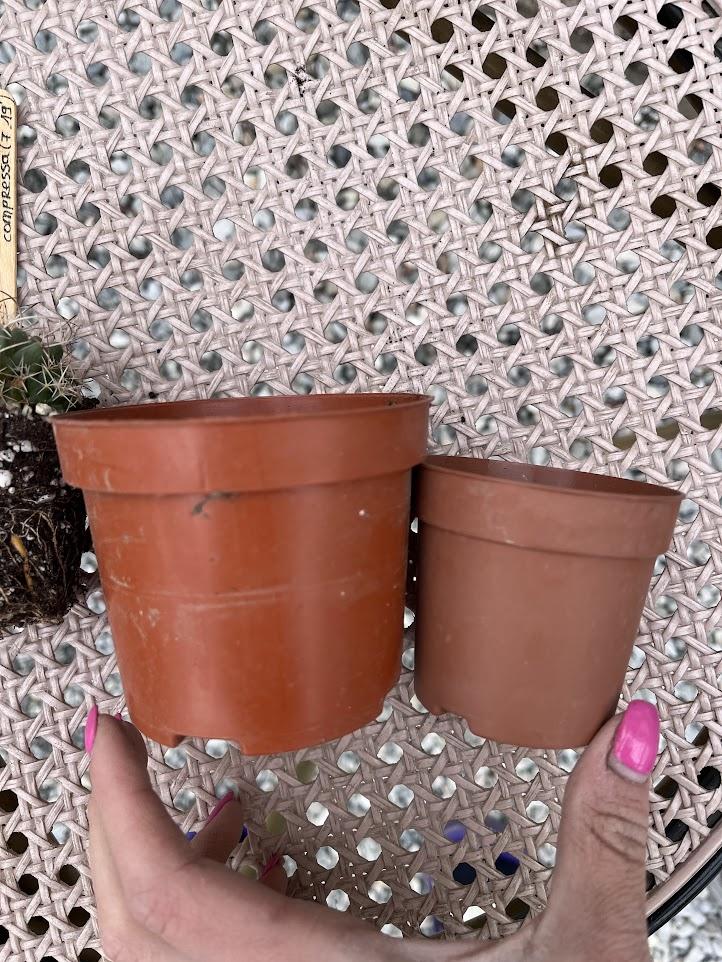
If you want to separate all the offsets into different pots, go for smaller sizes, but if you want to put them together, choose one that will fit all inside and still give them a chance to enlarge later.
When planting the chosen pieces, try not to press the soil around the roots or put the offsets too deep in the ground; for the cacti species, it is essential to know that it will take some time for blooming and visible growth.
Once your plants are in their places, do not pour water immediately and give them time to sit for a day or two before watering. For the first week, spraying the soil around the new propagation unit is best.
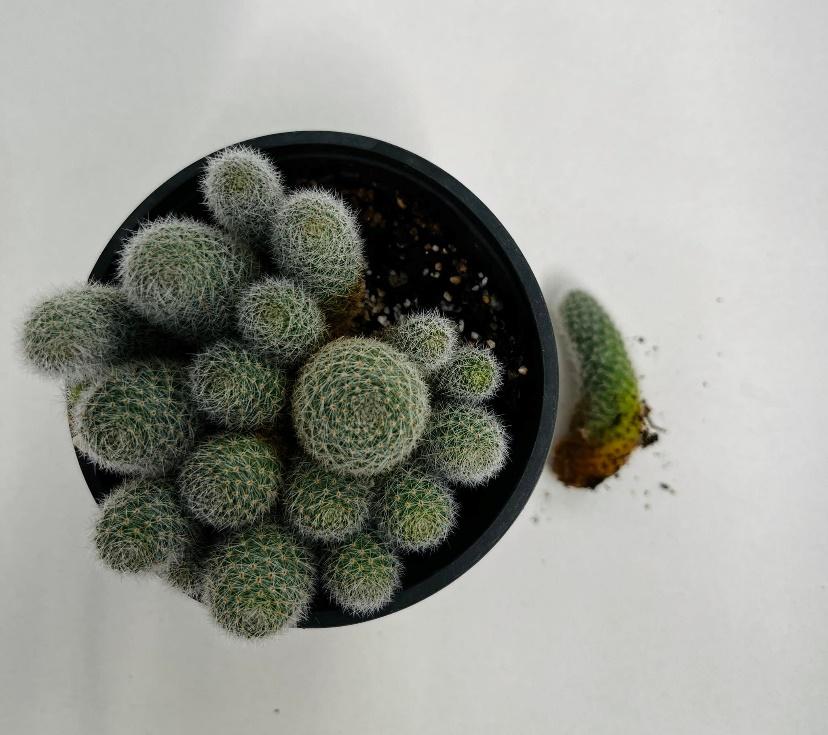
Step three: further plant care
Once your cactus is ready for single life, routine plant care is essential to keep it alive.
First and probably most important is never overwatering your plant and putting it in a very bright spot.
Enough sun exposure will еxtend the life of your cactus and help you keep the shape and status of your plant satisfying.
Watering requirements are different and depend on your species; no matter how much you water, be sure that the water is moving out of the pot and that there is no retention around the roots.
Be patient; some cacti will take some time before they flower and be beautiful as the mother plant.
Related: Ten Extraordinary Types of Tall Cactus Can Revive Your Yards and Landscapes
HOW TO PROPAGATE BROKEN PARTS OR A CACTUS PAD
For many reasons, it is not rare to find some parts of your parent plant broken, which should not be a reason to give up on them.
Whenever you have a chance to find broken, unrooted cacti plants, it is time for propagation.
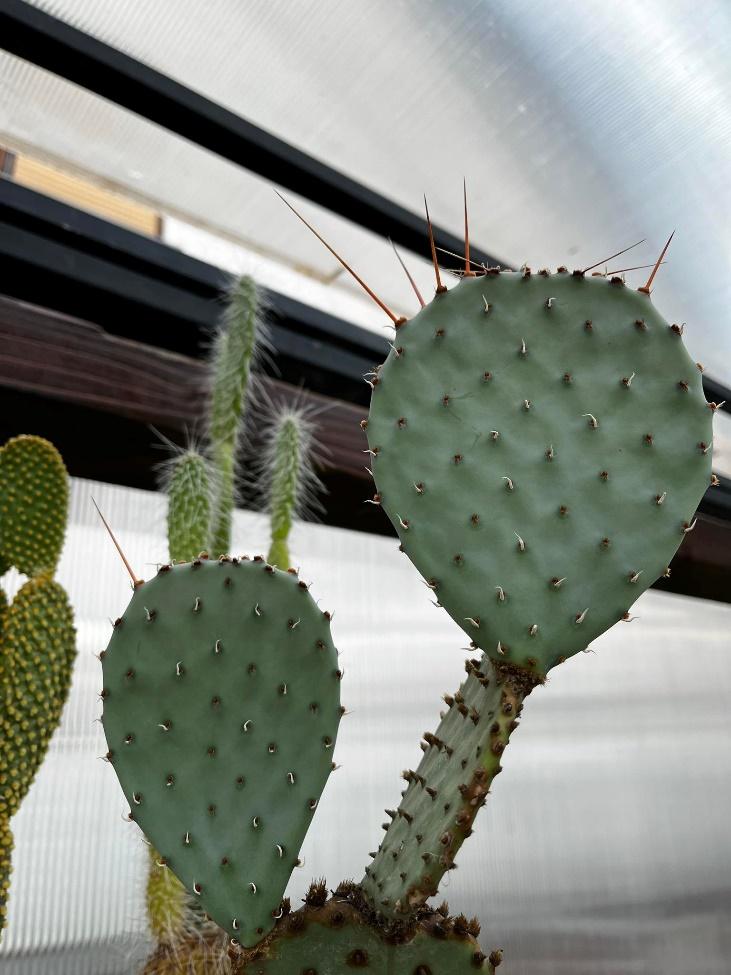
Sometimes you might want to grow more plants from a cactus pad, but that is also an easy task and can be done with low effort.
You can grow a healthy plant by following these rules. I will explain step by step.
Step one: Collecting the material
No matter if you find broken parts or are willing to collect cactus pads from your overgrown cactus, the material you have is crucial for propagation.
You want healthy parts, firm plant tissue, and without fungal diseases on it.
This step is very important for growing healthy roots later.
Step two – Rooting
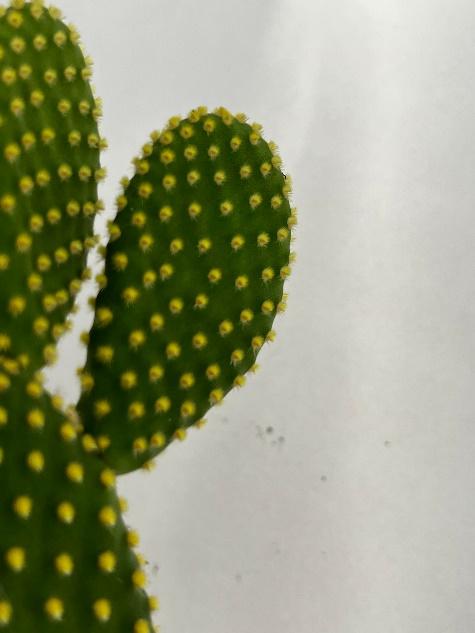
Above when you read about the cuttings, you had a chance to see how to simply. It is the same with the broken pieces and the cactus pads. However, if you think deeply, you will understand that there is no huge difference between an intentionally taken piece of a plant and one found on the ground in your garden.
There is a big chance when you find some broken parts to have a callus on end, which will make your life easier, and you can easily go for planting instead of waiting a couple of days for the callus to form.
If you are cutting a pad from a cactus (mostly from Opuntia), it is better to wait before planting.
To stimulate root growth, rooting hormone, cinnamon, or sulfur powder speed up the rooting process.
Step three – Watering and maintenance
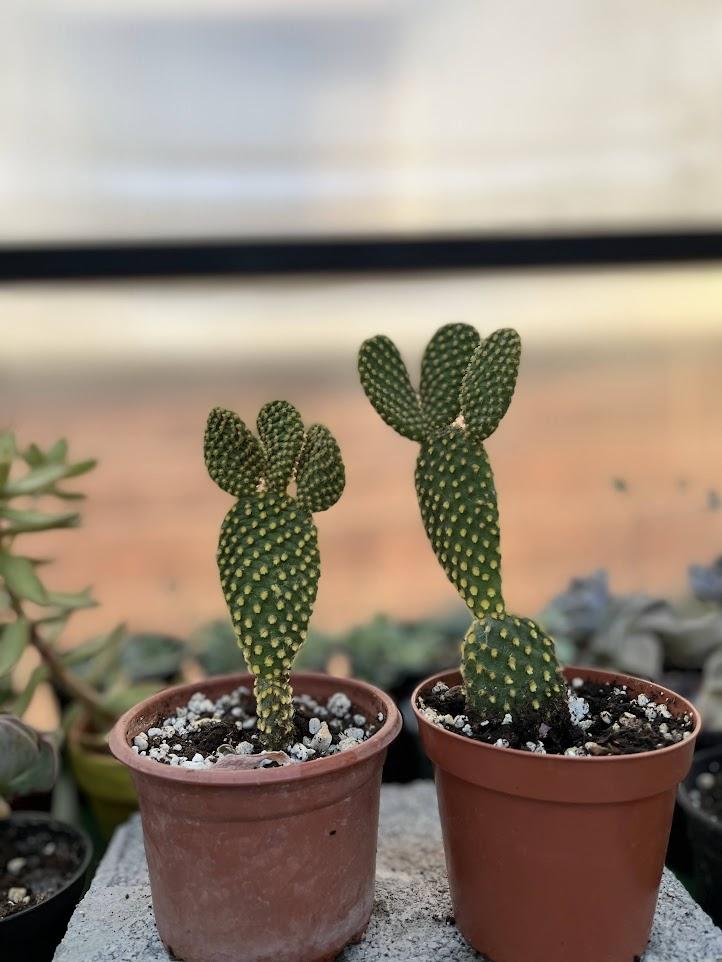
Once your baby plant is in the soil, be careful with the watering and moisture.
Use a well drainage potting mix and let the soil completely dry in the first weeks to allow proper root system growth.
If you allow a large amount of water to collect in the container, root rot can kill your plant very soon.
Keep the new cuttings away from direct sunlight in the first weeks. As the best spot, I recommend a shaded area on the east with a bit of morning sunlight.
HOW TO PROPAGATE FROM CACTI SEEDS
Here is a process for people who would like to try something challenging and time-consuming.
Seed propagation requests few techniques and an attentive approach.
Some cacti in your garden may self-pollinate, while others need assistance to transfer the pollen from the anthers of one flower to the stigma of another one.
Whether you buy seeds or produce one yourself, here are the steps that will lead to the propagation of most cacti species.
Step one: Preparation of the seed
Depending on the species, seed material must be properly prepared for germination.
For preparation, I am pointing to soaking the seed for a few hours to a few days to start germination. Lake water is the best option and helps the coating of the seed to soften and easier production of the whole organism later.
Another method that increases seed germination is the stratification process that can be done differently (dry, moist, scarification, double dormant, or hot water treatment)
One of the easiest ways to apply stratification to your seeds is to leave them in a dry, cold place for at least a week, helping them break the dormancy period as that works for them in the natural habitat.
After your seed crosses all the preparation techniques, it is time to sprinkle it on the soil and start propagating.
Step two – Sowing
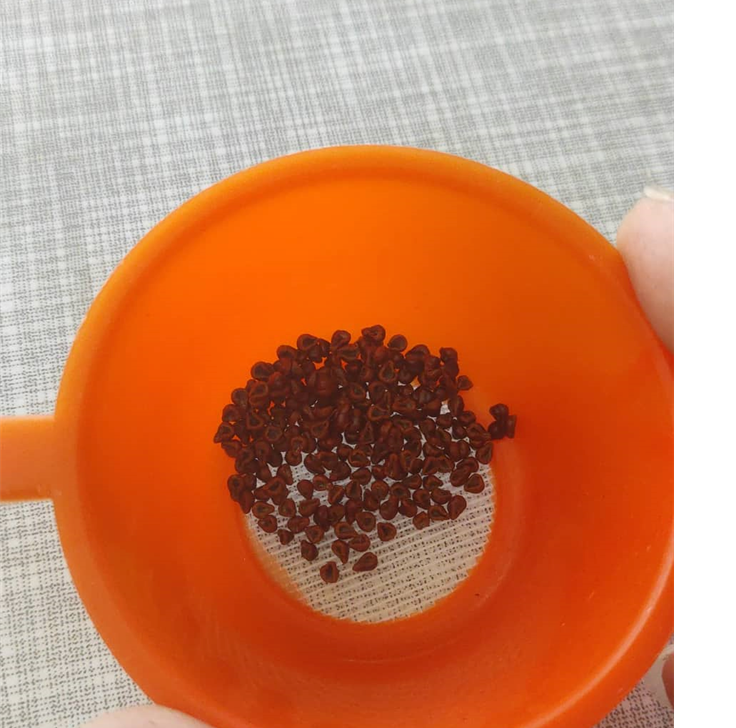
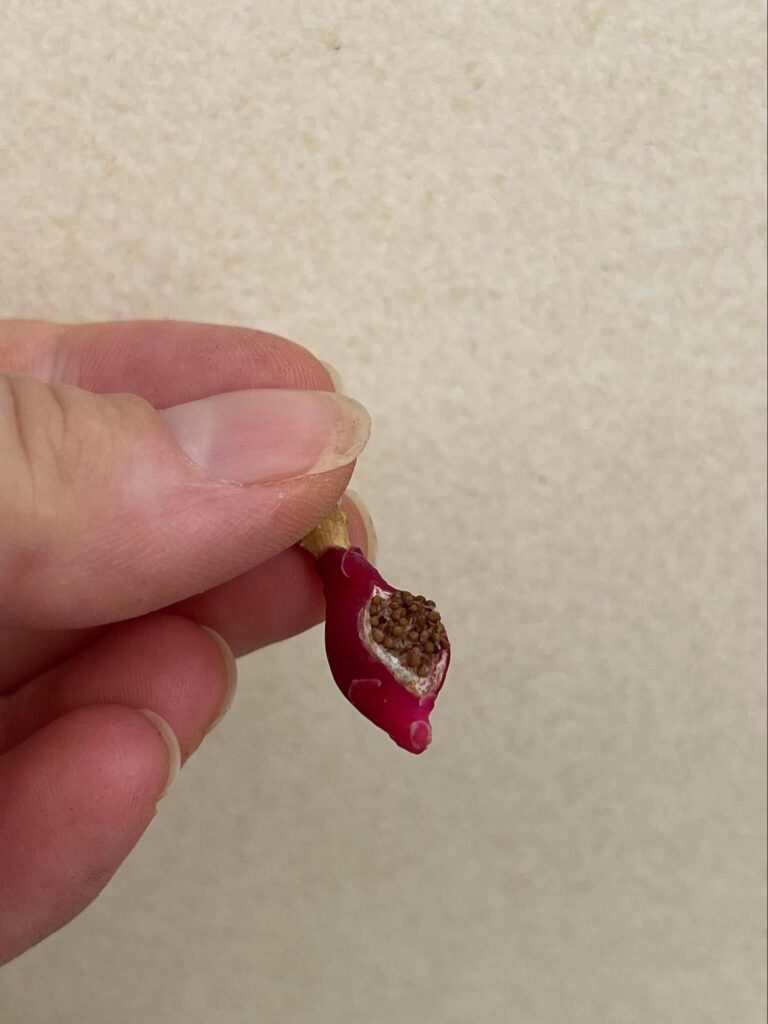
In order to grow, you need to set the seed properly. Seeds are collected in ball formation hanging on the top of your cactus after blooming if they have undergone the pollination process successfully.
Once you collect the seed, proceed with sowing and growing new plants. To do this the right way, fill one container with a rooting medium and sprinkle already prepared material on top of the soil mixture.
Do not press the seed or cover it with the ground; try to be as sterile as possible since the new material can be an easy target for fungal diseases.
After the seed lays on the ground, sprinkle some inorganic material such as sand, pumice, and lava rocks to cover the top.
Step three – Further care and growth
When the seeds are in place, your job is to protect their environment and to build as sterile as you can surround them.
Despite using a spray bottle to apply fungicide, it is necessary to cover the pot with some plastic transparent container, plastic wrap, or something else that can both let the sun go in and keep the area humid.
If you find some mold growth during the germination process, you can uncover the pot and let the air around the seedling dry, after feel free to cover again.
The first visible plants may take from a few days to a few months, considering many factors in the propagation process.
It is the best choice to place the seed in a place with morning sun in order to get enough sunlight, but not to be burned or boiled in the experimental green garden
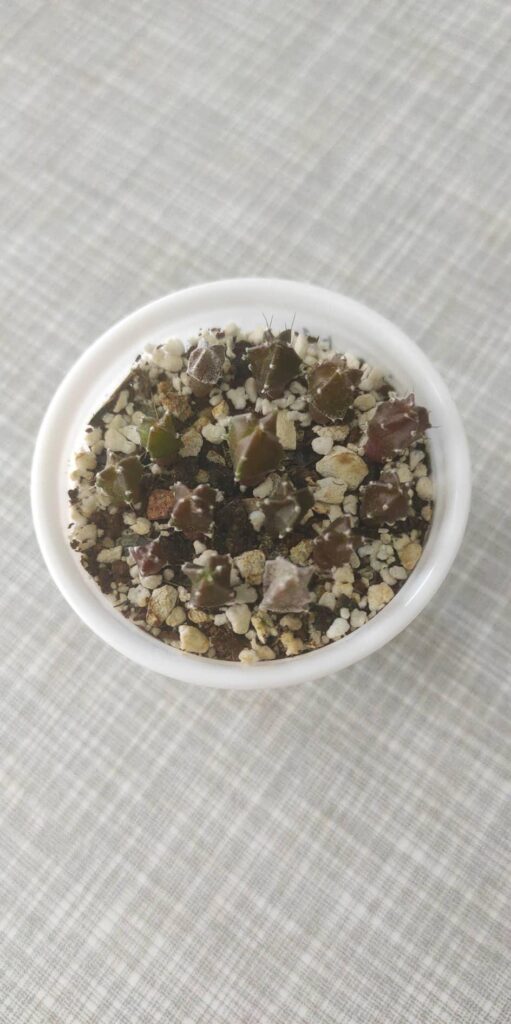
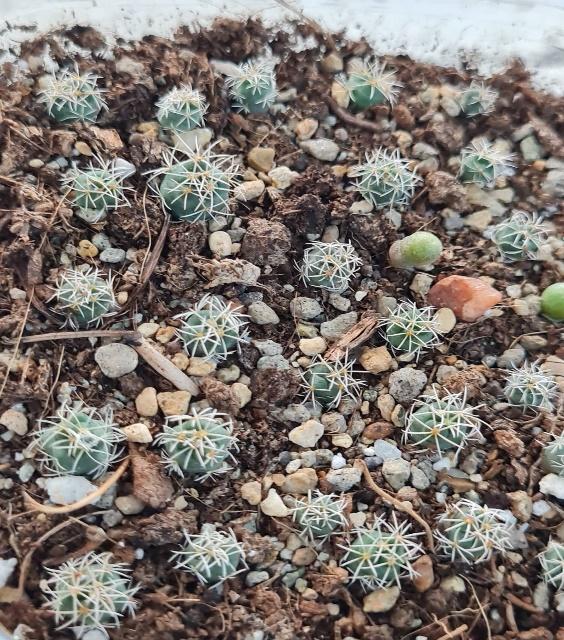
When the new cacti grow, they occasionally start watering, keeping the soil moist, and transplanting once they grow to optimal size.
Be careful with the direct sun in the first months because the plants are young and can be easily damaged if not treated well.
GRAFTING PROPAGATION
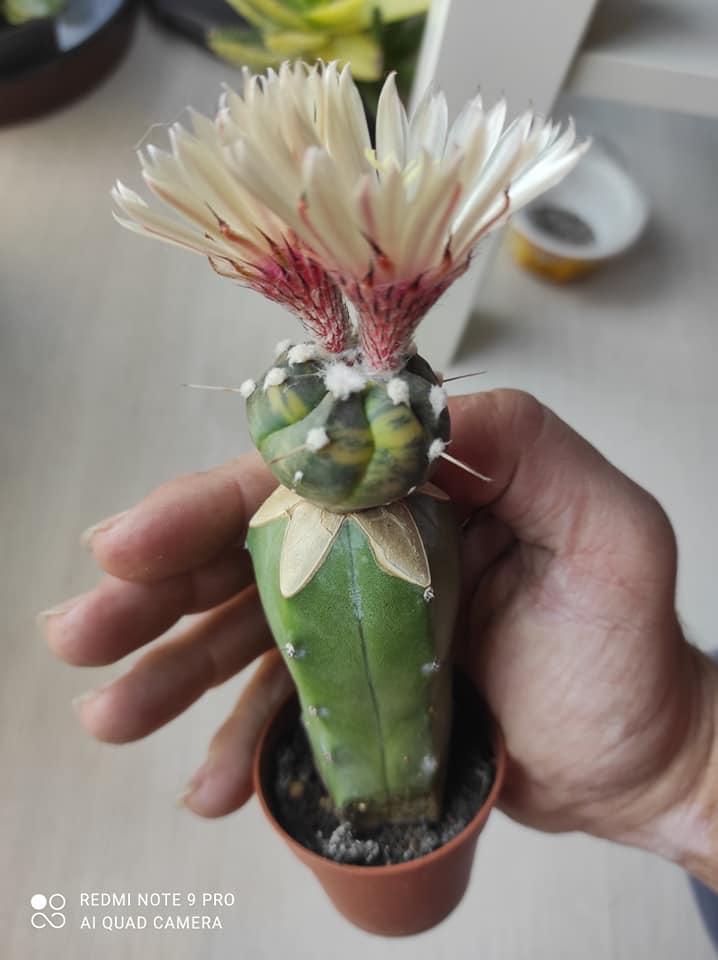
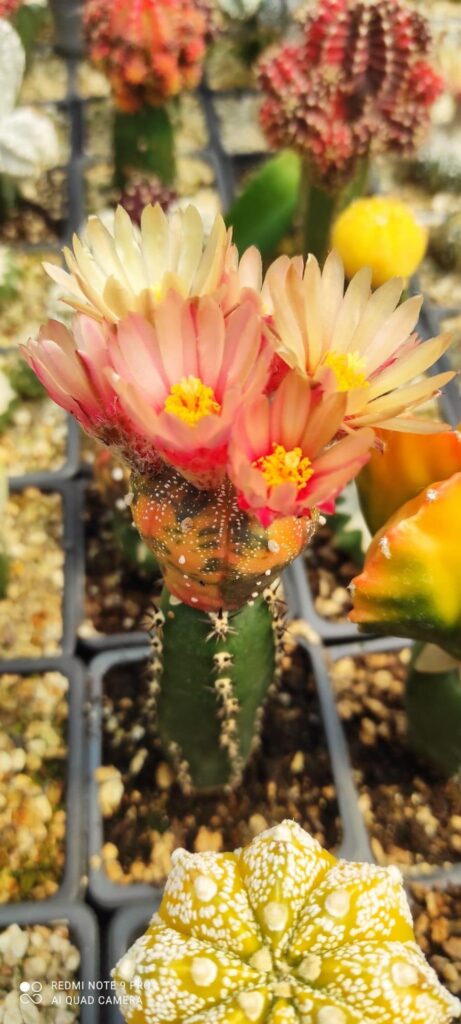
This technique is interesting because it can make unique forms and cacti combinations attractive to many people.
The collections started using this method to keep longer plants with sensitive roots alive, but today almost all cactus plants that can not be multiplied by dividing are used in the grafting techniques.
Here we can differentiate two parts of the grafted cactus: “Scion” cacti or the grafted part and “Rootstock,” the base where we put the wanted cacti species.
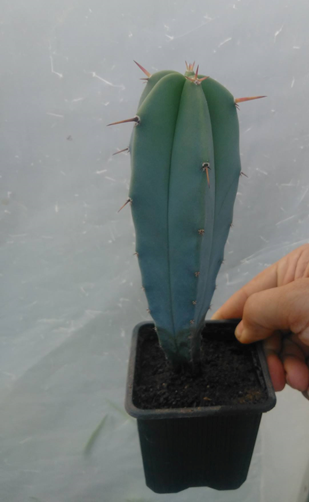
Usually, the rootstock species are Hylocereus trigonus or undatus. Cereus peruvianus. Trichocereus spachianus, Opuntia (prickly pears)
The Scion cactus may be any cactus that you want to try, but Astrophytum and Gymnocalycium are commonly used.
To start grafting cactus cuttings all by yourself, follow the explanation below.
Step one – Prepare the base
In the beginning, several things are clear for successful growth later. First, the cactus you choose as a base needs to be cut with a sterile cutting tool such as a knife, razor blade, or scalpel.
First, you cut on a position in a flat, parallel line across the diameter of the base. To ensure better results, try to be fast and make sterile cuts.
Then you should go for edge cutting, paying attention to cutting an angle of 45 degrees leaving the center flat. By this, you will optimize the position of the scion cactus.
The scion cactus also needs to be cut on the edges, with a similar diameter to the cutting, making perfect contact for tissue growth.
Step two – Grafting
After you cut both parts as described, make one more cutting across each to ensure the quality of your work.
If you make a mistake at the beginning of the propagation, it is possible for the cambium tissue not to line up or the callus not to form, leading to unsuccessful connection and grafting.
Once you put the scion cactus on the top of the base, tighten both up with rubber bands in order to keep them together until the callus is formed. Do not use pins or plastic wrap to secure the connection.
You may expect these two pieces to grow together within a week or a month.
Step three – Watering and further care
Inappropriate watering can seriously harm your growing plant. If possible, use distilled or tap water that does not have much chlorine.
Wrong watering may cause the growth of fungal infection or root damage that can harm the plant in the beginning while it is really gentle.
Frequently asked questions
As always, here are a few more tips regarding the most asked questions on this topic.
How do you split and replant a cactus?
To split spiny cacti, there must be at least more than one grown part.
Mammilaria species are really easy to split since they grow as small or larger balls, forming clusters that are easy to divide.
To propagate Christmas cactus, you can either split from the bottom or take cutting the plant.
When you split a cactus, pay attention to the root system and, if possible, try to divide the pieces with parts of the roots.
When roots are present it is very easy to replant your cactus since it grows the same as the mother plant where you take it from.
If you are pulling cutting or parts without roots, leave the splitting part on the side for a few days for a callus to form, then move to a pot with great drainage.
Do not water immediately and allow new roots to form.
How to propagate cactus in water?
Yes, you can propagate cactus in the water pretty easily, even though they do not love water while growing in the soil.
What you should do after you cut a piece of cactus you want to propagate is to find the perfect bowl to pour water in and then place the cut part a little bit higher than the water level.
Like this, you allow your plant to cut enough humidity and space to grow the roots and further develop as an independent plant.
How do you separate cactus roots?
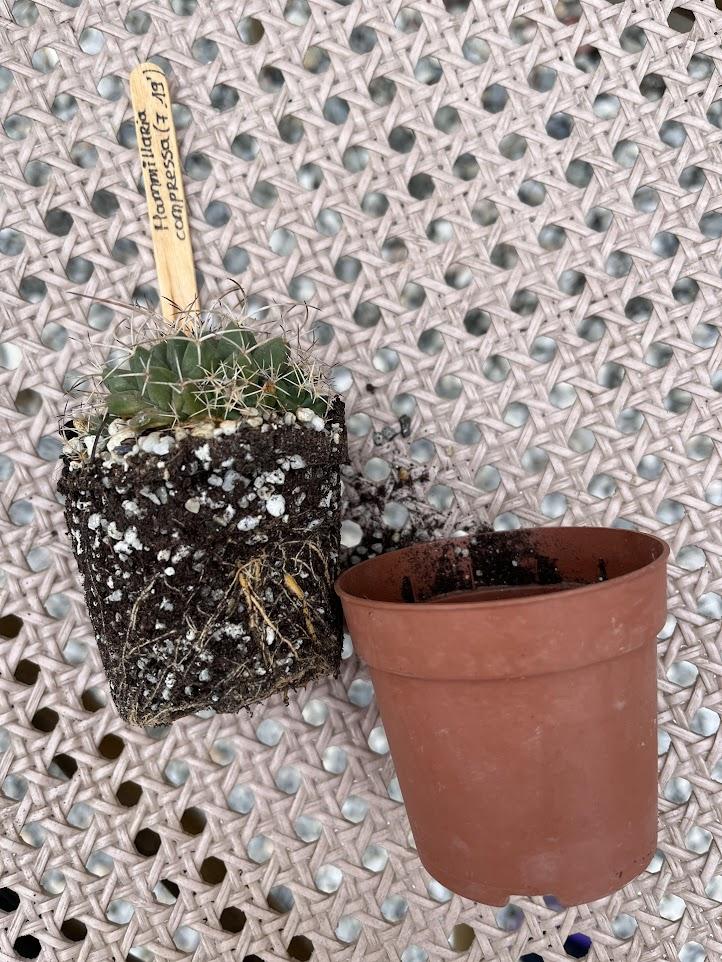
Once in two years, it is suggested to take out your cactus from the container and refresh the soil or change the size of the pot.
Whenever it comes time to do this, you will find out that the cactus root is all over the ground and needs some trimming.
When you are separating the cactus root, it is important to pay attention not to destroy the whole rooting system.
If there is more than one cactus in the pot, be careful for each one to have its own root in order to continue single life, maybe in another place.
There is no strict rule for how much root to cut off or to leave on the plant, so from my own personal experience it is best to leave as much root as needed for the plant size to be satisfied with nutrients from the soil.
Editor’s Recommendations
Madagascar Palm Tree: The #1 Care, Propagation, and Watering Guide
18 World Famous Yellow Cactus Varieties for Homes and Gardens
Realize Common Fungal Infections on Succulents and How to Treat Them


