If you have a few plastic soda bottles laying around ready to be recycled, then you might be surprised to learn that they can be used to create a planter.
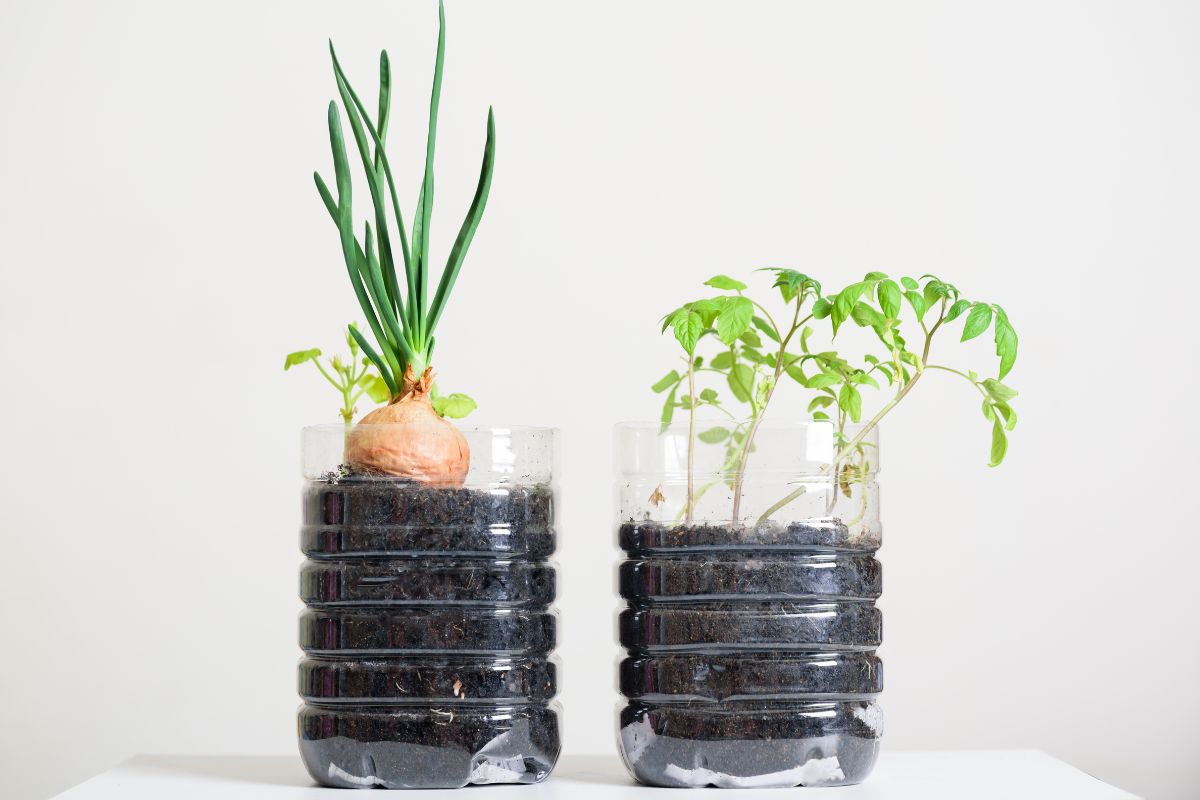
This type of planter is basically self-watering, which makes it a convenient way to keep certain plants healthy due to having moist soil. This is because there is a reservoir built in, which allows the plant not to get overwatered or underwatered.
Pretty neat, huh?
If you are looking to create your own planter out of a soda bottle, then find out how you can make your own right here. So let’s go!
How To Make A Soda Bottle Planter
You Will Need
- A 2 liter soda bottle
- Sharp scissors
- Market pen or felt tip
- Knife (optional)
- Nail
Step 1
Before you can begin you will need to remove and discard the cap and the label. These can be recycled.
Step 2
Now that you have removed the cap and the label, you will want to soak the bottle in warm and soapy water.
It only needs to be soaked for around 10 to 15 minutes in total. During this time, if there is still sticky residue where the label has been, then the warm water will help you to remove it.
You can use a sponge or a knife if necessary.
Step 3
Once you are satisfied with the soda bottle, you can rinse it under warm water to remove the soap suds. Let the bottle air dry.
Step 4
Measure 4 inches from the bottom upwards of the soda bottle and make a dot. Do this on several sides of the bottle, and then join them up with a line around the circumference of the soda bottle.
Step 5
Using a knife or a pair of scissors, create a hole on the line. This is the beginning point to begin cutting the line.
Once you have cut through the whole line, set the bottom half of the bottle to the side. This will be the reservoir.
Step 6
Around 2 inches from the top of the bottle, puncture up to 4 holes with a nail. These will be used for drainage.
Step 7
Place cotton wool in the bottle top. This will soak up moisture and prevent the soil from escaping. Turn the bottle top upside down, and add around three fourths of potting soil.
Step 8
Put some seedlings at the top of the soil and then cover the roots with extra potting soil. Make sure it is secure.
Step 9
Add up to 2 inches of water to the reservoir, and then place the planter into it, bottleneck side down. The bottle opening should just about touch the water.
Step 10
When you need to water the plant, just fill up the reservoir again.
Final Thoughts
If you want a great way to use up soda bottles and ‘self-water’ a plant, then a soda bottle planter is the way to go!


