While having a perfectly flat lawn may sound great, a flat can cause numerous problems for your yard and home. For example, a flat surface may cause water to stand still on the surface of your yard and cause water drainage issues. Sometimes, the situation might be even worse, and the slope of your lawn might be directed toward your home. Keep reading to find out how to save your lawn and learn how to grade a yard by hand.

Grading is also essential for the health and appearance of your lawn and garden.
A sloped lawn towards your home will cause water to pool around the building and cause water damage to its infrastructure. So, you might want to invest some money and time in grading your yard. However, can you grade a lawn with your hands?
If you have a small lawn or just want to regrade a small area in your yard to improve or fix drainage-related issues, you can do it with your hands without needing any sophisticated or heavy equipment. You probably already have most of the tools in your shed or garage to level/grade a small home lawn or yard.
However, if you have significant issues with the slope, you’d contact a pro.
Nevertheless, let’s discuss how to grade a yard by hand.
Why Should You Level Your Yard?

You may want to regrade or level your after removing trees and bushes to avoid lumps or bumps.
As a homeowner, you probably already know that drainage issues in the yard can cause water damage to your property and may even cause the water to pool around the base of your home, causing substantial foundation and infrastructure damage.
However, you can fix all these issues by grading your yard. Even if you have leveled your lawn in the past, regarding it can help with bumps & lumps caused by:
- Drainage issues
- Soil settling
- Installation of new features (such as a pool)
- Damage from animals
- Tree root growth
- Sewer installation
- Tree or brush removal
Other than that, grading a yard can also help fix the following issues in a home lawn:
- The buildup of ice in the yard in the winter
- Suffocation or root rot in trees, bushes, and other plants
- Soil erosion
- Mud on your hardscaping that gets tracked indoors
- Standing water or puddles that attract pests, including mosquitoes
- Unsightly mower ruts or other problem areas of sinkage
- A soggy or mushy lawn
Nevertheless, let’s discuss what grading a yard actually means and how to do it with hands.
RELATED: How To Get Rid Of Mushrooms In Lawn | Are Mushrooms Harmful To Grass?
What Does Grading A Yard Mean?
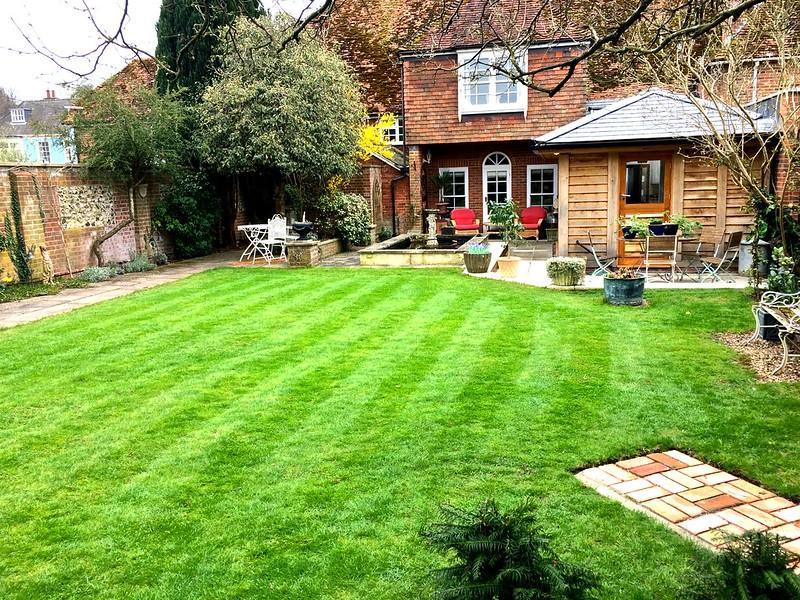
Yard grading means adjusting the slope of the land to control water flow.
You might be reading this article and thinking that yard grading is simply leveling a bumpy and lumpy lawn. However, grading is a form of leveling which creates a mild incline.
In other words, grading is the process of adjusting the slope of your yard so that the excess water from rain or irrigation flows away from the base of your home.
Ideally, you want to create a slope of about five percent when grading your lawn. A five percent slope means that the height of a spot 10 feet away from the walls or foundation of your home is about six inches lower than the height near the walls.
If you create a lawn grade of less than five percent, the water may not move, and you will still have water drainage issues in the yard despite grading, and you will have to regrade. However, people often create lawn grades of up to 25 percent.
You can also create a slope of 25 percent, depending on the conditions of your lawn but do not make a lawn grade of more than that. Pushing a lawn grade of more than 25 percent can cause soil erosion and runoff of topsoil and nutrients from the lawn.
How To Determine If You Have A Grading Issue?
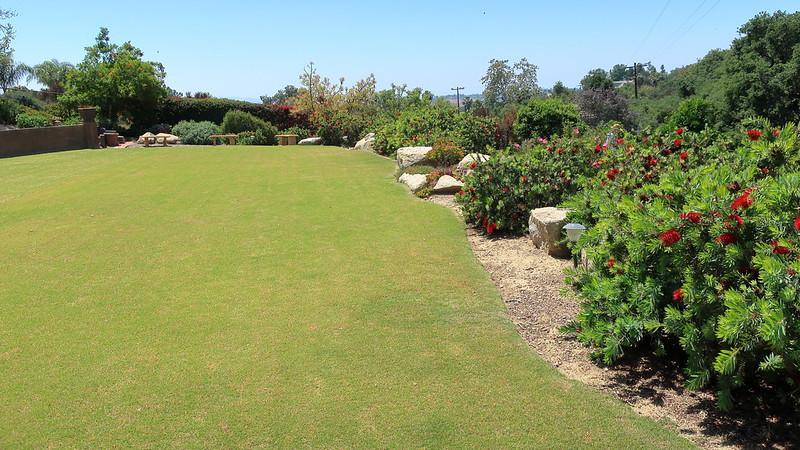
“Do not fix what ain’t broken,” and the same goes for lawn grading.
The easiest and probably the quickest way to determine if you have a landscape grading issue is to look for drainage issues and standing water in your yard. The lawn grading is good if you have proper drainage and water does not stand still on your lawn.
If, however, you want to be precise, you can measure the slope of your lawn.
You will need the following tools to do that:
- Carpenter’s level
- 100+ ft. string
- Two 3 ft. long stakes
- Hammer
In an ideal setting, the ground around your home should slope away at a rate of about 0.125 inches for every foot away from the walls or base of your home.
It comes to about one foot per 100 feet. In other words, the slope of your lawn should be set so that at a length of about 100 feet from the foundations of your home, the ground is about one foot lower. Here is how you can measure that!
Take a three-foot-long stake of wood and insert it into the ground using a hammer near the base of your home. Then, using the string, measure a length of about 100 feet going in the opposite direction on your lawn and insert the second stake there.
Next, attach a string to the base of the stake near your home. And then, bring the line to the second stake on the lawn. After that, using the string level, attach the string to the stake. You can do this with the help of a carpenter’s level.
Now measure the distance between the ground and the position of the string on the second stake. You are lucky if the space is less than two or three inches.
It is because a level difference of about two or three inches is not much of an issue, and you can fix it yourself using standard household tools. However, if the difference is much more than that, we recommend that you hire professional help for the job.
RELATED: Nitrogen Vs. Iron For Lawn | Which To Use & When To Use It? A Comprehensive Guide
How To Grade A Yard By Yourself?
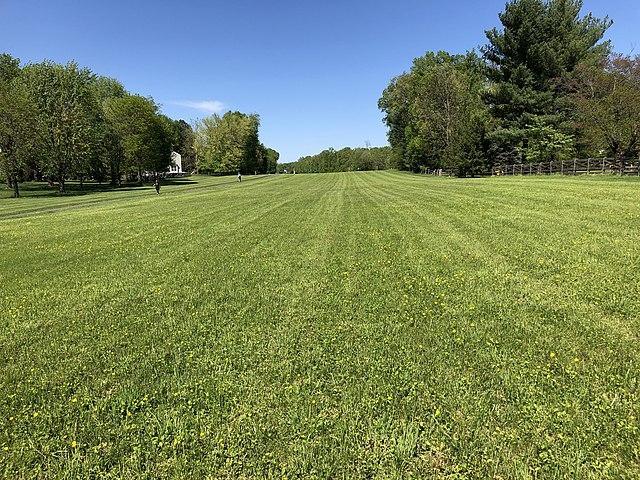
Find the high and low spots on the ground to grade your yard and reverse them.
If you have decided that you want to grade your yard yourself, here is what you will need:
- Wheelbarrow
- Edger
- Shovel
- Large push broom
- Plastic leaf rake
- Thatch Rake
- Thatch Rake
- Compost
- Topsoil
- Sand
- Lawn Mower
Once you have all these things at your disposal, you can start!
Step 1. Mow The Grass
The first thing you have to do when grading your lawn is to mow the grass. Usually, experts suggest that you should always trim your grass at its highest recommended setting, but things are different when it comes to the grading or leveling of a lawn.
Here you will have to mow the grass short. However, be sure not to cut the grass too short so that you scalp the lawn. If you trim your grass too short, so much so that the stems of the grass blades become visible, the grass might dry and then die.
Step 2: If Needed, Dethatch The Lawn
Once you have mowed the lawn, observe the condition of the thatch on your property.
Thatch is a tightly intermingled layer of living and dead roots, leaves, and stems that, over time, accumulates between the soil and the living slayer of the grass.
Thatch is organic matter that has not yet decomposed and becomes part of the soil. Now, A little bit of thatch on lawns is not bad and helps grass retain moisture.
However, if this layer becomes too thick, it can block water from penetrating, creating drainage issues on your lawn even if you do not have a grading problem.
So, if you notice that the thatch layer on your lawn is more than half an inch thick, you need to detach it. For a small yard, you can use a simple thatch rake.
However, for large lawns, rent and use a dethatcher machine!
Step 3: Fix The Suken Areas On The Lawn
Once you have dethatched your lawn, you will see the soil’s condition much better.
So, check your yard for any low spots or divots of more than three to four inches. If there are any such depressions, you will need to fix them first.
You will have to remove the grass from these low areas. So, take a shovel and put its blade on the outer border of the depression or divot. Next, start pushing the shovel into the ground at an angle of about 45 degrees toward the center of the divot.
Make sure the shovel goes deep enough to get under the grassroots.
Once the shovel is in place, gently pry the grass, exposing the soil underneath.
Step 4: Make The Filler (Soil Mix)
You did not just expose the soil of sunken areas on your lawn for the sake of it.
Now you have to fill them. To do this, you will have to prepare a soil mix. I usually use a topsoil mix in my yard, and I highly recommend it. Here is how to make it:
- Take one part compost, two parts sand, and two parts topsoil
- Mix them, and you have the soil mix
Easy, no? The sand in this mix will ensure that your lawn does not compact too quickly and will keep these low spots level in the future for a long. In contrast, the compost and topsoil will give the new grass seeds or sod a highly-needed nutrient boost.
Step 5: Fill The Sunken Spots
Once again, you did not just prepare a soil mix just for the sake of it.
So, now that you have it use it to fill the divots and low spots in your yard. Once you have filled these sunken spots in the yard, place the grass back on top.
Step 6: Level Out The Entire Lawn
Once you have filled all the divots, low spots, and holes in your yard with the topsoil mix you prepared, it is time to level your yard, and do not worry; it is pretty straightforward.
Just spread a thin layer of the topsoil mix all over your lawn, prepared in step 4.
Please make sure that the layer is not too thick as it might choke the grass, and since the grass is already too short because you mowed it in step 1, it is pretty likely.
However, if you think some places need to be covered with more topsoil, you can apply a bit extra to those spots. Just make sure that you cover them with grass later on.
Then, using a rake, level the topsoil mix. You can also grade your lawn at this stage by creating a slope away from your home’s foundation. To make a grade, use the wooden stakes and the string method and level the topsoil accordingly.
Step 7. Water The Place
Once you are done leveling and grading your lawn, turn on the sprinklers.
If you do not have sprinklers installed on your lawn, do not worry! You can also use a simple garden hose to water the lawn.
The water will help the topsoil mix settle down and fill any air pockets in your yard. Moreover, it will kickstart the nutrient introduction in soil.
However, do not overwater or create soggy conditions when watering.
Step 8. If Needed, Reapply The Topsoil Mix
After watering, you might see some low spots appearing in your yard again.
Do not panic; this is entirely normal, and you will have to apply the soil mix two to three times to level and grade your lawn thoroughly.
So, once again, take the soil mix, apply a thin layer and rake it to level your yard. Meanwhile, keep grading in mind.
Next, water the lawn again. And you will be all set after a few tries.
RELATED: How To Grow Sod In Shady Areas Of The Lawn? Best Sod For Shady Lawns
Some Tips For Grading A Yard
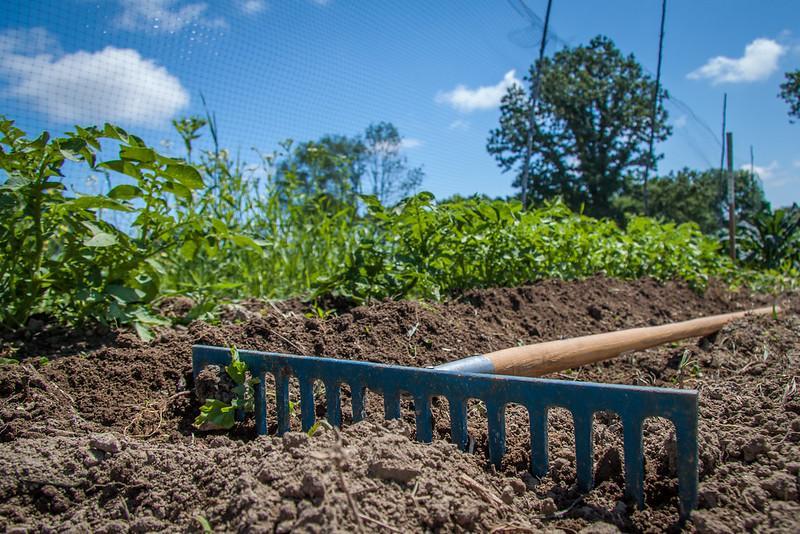
Make sure you have enough topsoil mix ready to level your yard, or you will be in big trouble.
There you have it. You have successfully graded and leveled your yard. Pretty easy, huh? However, here are a few more tips to get the most out of your efforts:
- Any soil removed from the lawn can be reused while grading.
- Proper backfill at the foundation is very important.
- The best time to level your yard is during the dry season.
- You can also rent a lawn roller to make your leveling work easier.
- The process is stressful, so make sure to reseed your lawn afterward.
Final Thoughts
Now that you know everything there is to know about grading and leveling a yard, all that is left to do is work. It is a task that most homeowners can carry out without needing professional help or renting and buying any sophisticated machinery.
However, there might be some instances when the lawn is in such bad shape that you will not be able to grade it yourself. In those cases, trying would be just a waste of time, money, and effort. So, if something like this occurs, call the professionals!
Frequently Asked Questions (FAQs)
How do you grade a yard around the house?
In a perfect world, the ground around your house should slope away at a rate of one inch for every foot you move away from it during the first five to ten feet.
Can I grade my yard myself?
If grading your yard is relatively straightforward and uncomplicated, you can complete it yourself. Simply find the high and low areas in your yard, and switch their positions.
How do you level the ground without a compactor?
There is no need for concern if you do not have a compactor to level the ground. Simply go over the area with a water-filled roller or hand tamper 2 to 3 times to gently compact the soil.
Is grading a yard difficult?
The job of grading the yard, like every other project, needs some planning. However, the actual grading of the yard is not at all challenging or demanding! The only tricky aspect is the combination of human labor and temperatures of 90 degrees.
How much does it cost to grade a yard?
The average hourly rate for labor to grade a yard is $50. The time it takes to clear the yard, dig out any sections, and then put in the ground by a landscaping business could range from 12 to 24 hours. On average, this will raise the total labor cost to around $900.
Sources for Further Reading
Land Grading for Irrigation: Design and Construction. 2022. Curators of the University of Missouri. Retrieved 30 December 2022, from https://extension.missouri.edu/publications/g1641
Starting a New Lawn | University of Maryland Extension. (2022). Retrieved 30 December 2022, from https://extension.umd.edu/resource/starting-new-lawn
Extension | Establishing a Lawn. West Virginia University. (2022). Retrieved 30 December 2022, from https://extension.wvu.edu/lawn-gardening-pests/lawn/establishing-a-lawn
Editor’s Recommendations
What Are Different Bermuda Grass Types, And Which Is Best For A Lawn?
St. Augustine Grass 101: Is It Any Good? And, How To Grow It In Your Yard?
The Best Organic Fertilizers For Home Lawns For A Greener & Healthier Yard


