Your Hydrangea blossoms are exploding with color as summer gets underway. Unfortunately, although these lovely flowering bushes require little maintenance, they occasionally give gardeners a headache. Anything to do with underwhelming blooms, particularly the browning of the hydrangea flowers, is at the top of the list .Learn how hydrangea how to save from turning brown with these expert tips and keep your blooms vibrant and healthy!
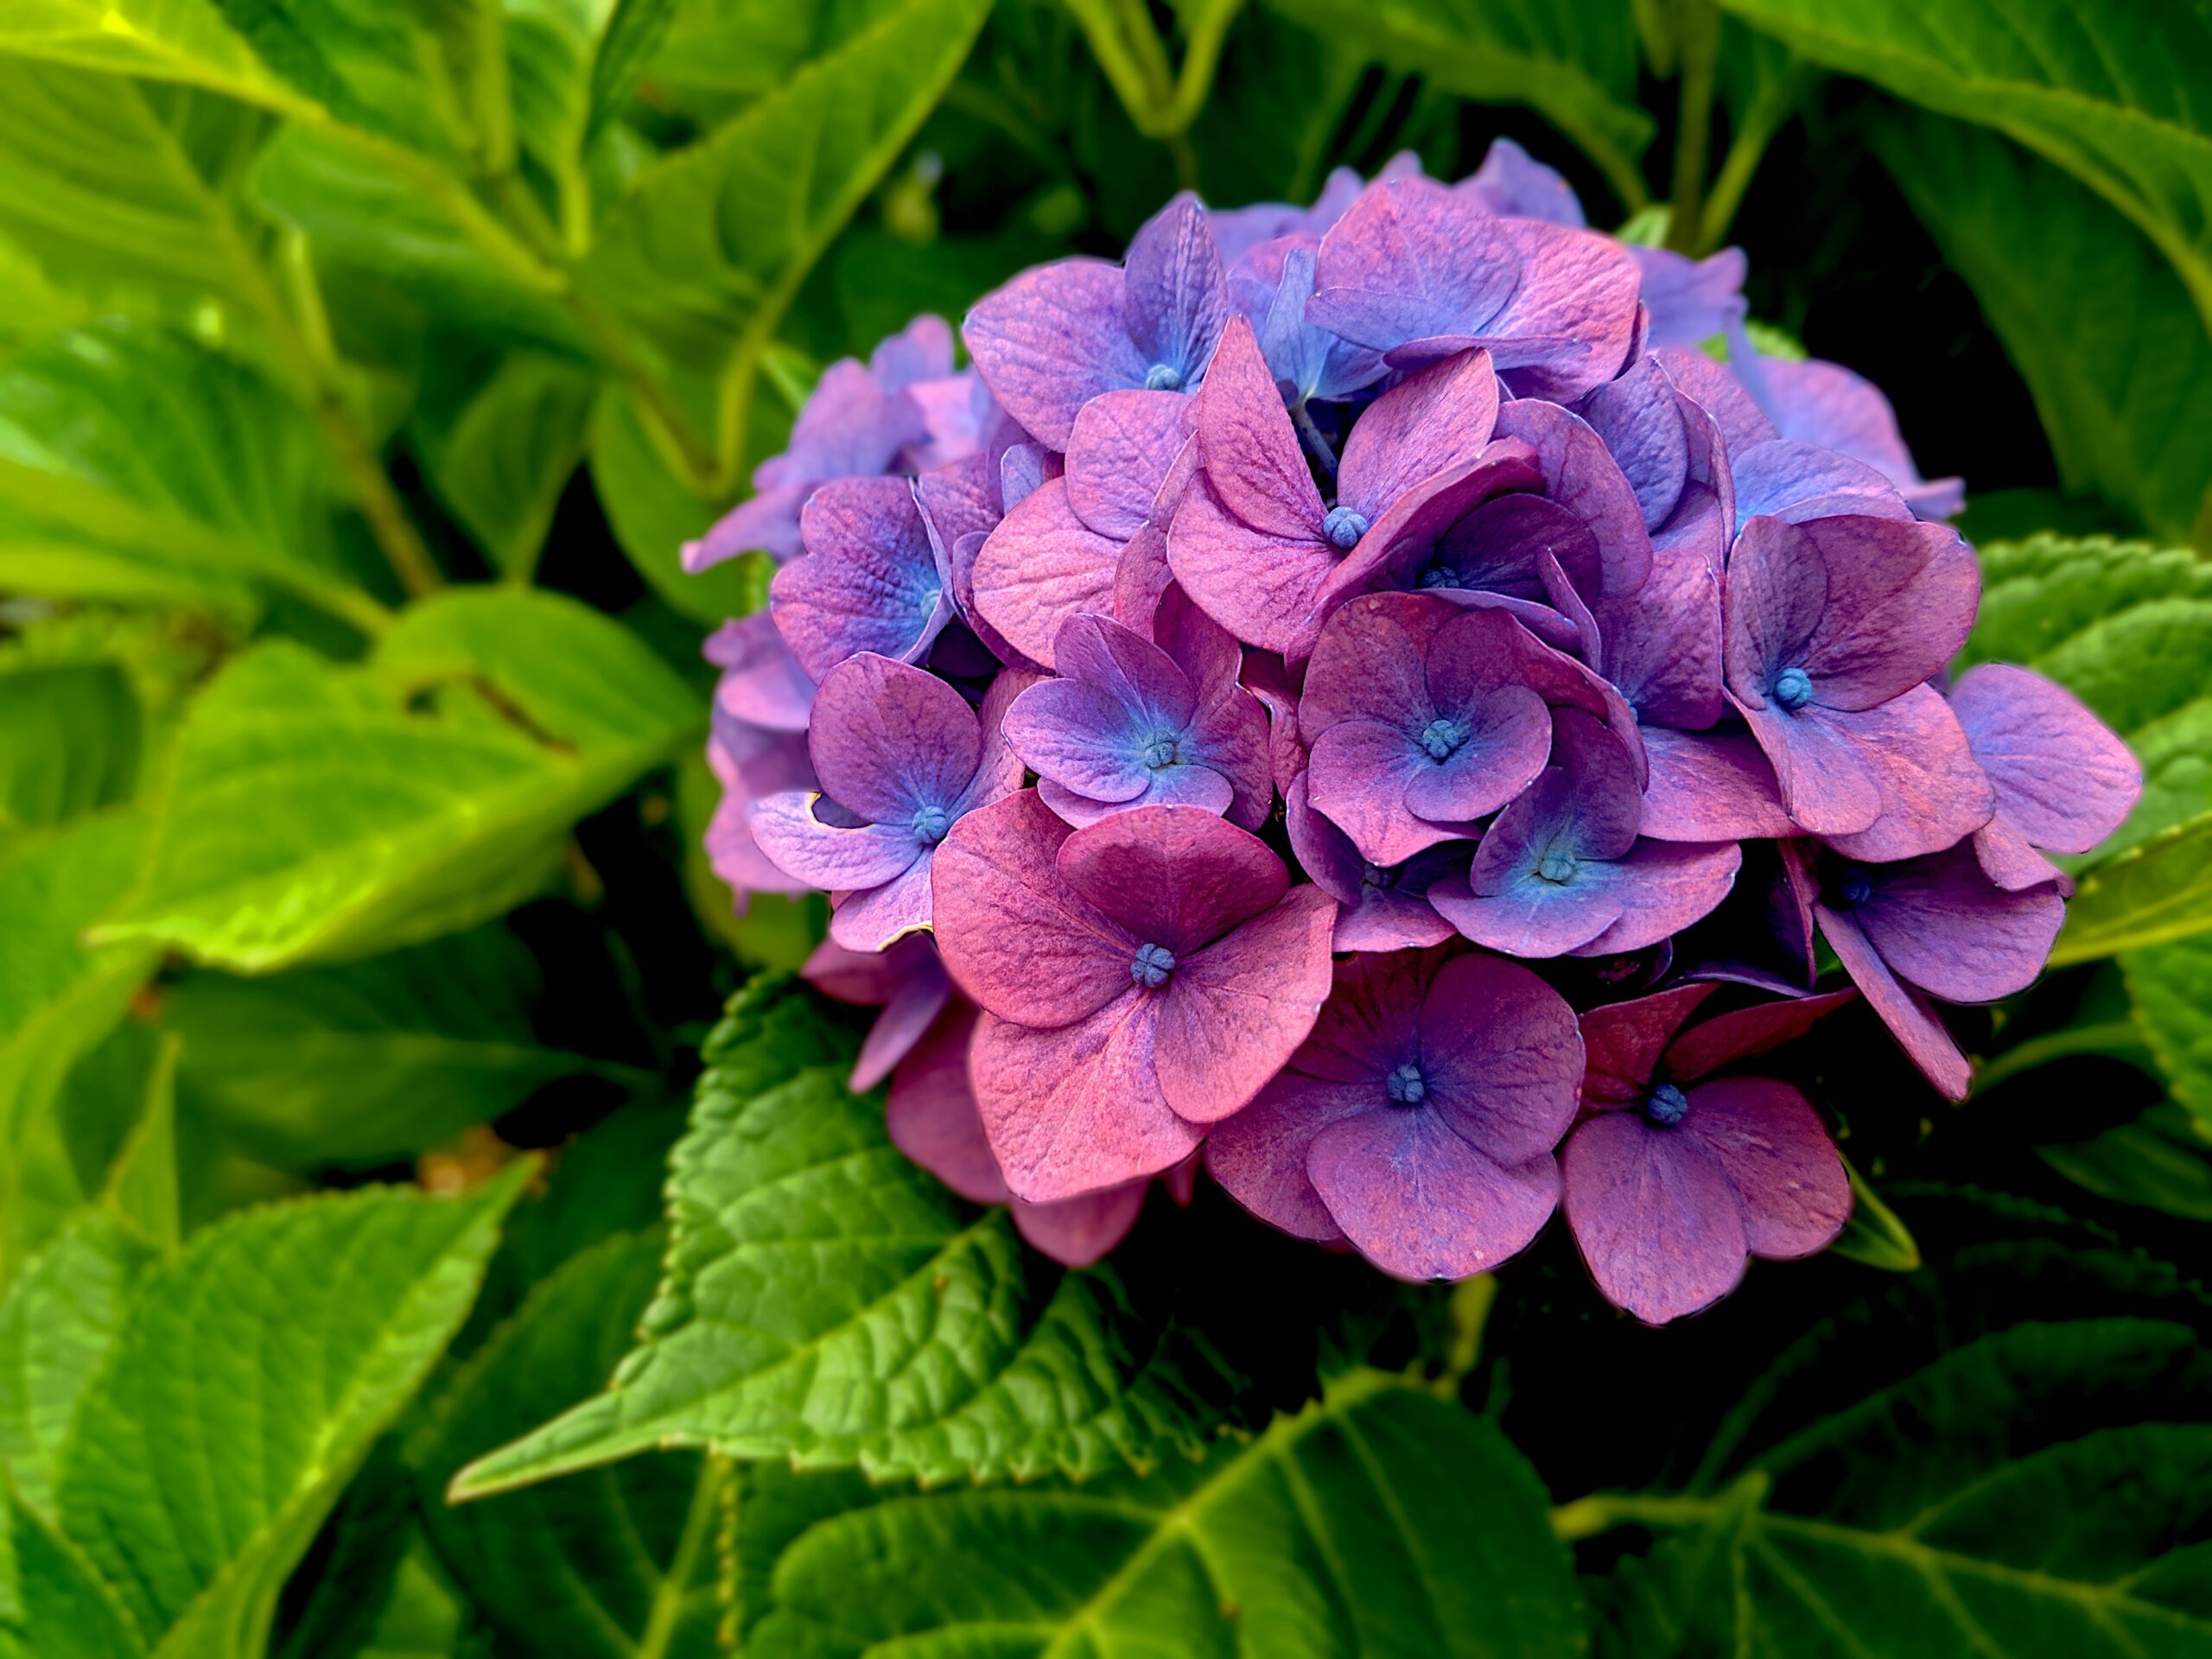
The common belief that hydrangeas are high maintenance stems from their attractiveness. For how could something so lovely be so simple? The fact is, as long as you provide some basic TLC, they are easy to care for plants.
There are a few various reasons why your hydrangeas have brown flowers. The browning and demise of hydrangeas can occur for a number of reasons. Each will need a unique solution. The most frequent causes of browning and death in hydrangeas can be bacterial or fungal infection, underwatering, direct sunlight, low humidity, high temperature, and overfertilization.
This article will teach you what to do if your hydrangeas start to wilt and turn brown. Along with finding out the answers to these intriguing questions, we will also learn how to maintain healthy hydrangeas and if they bloom every year.
Read on to discover more.
Why Is My Hydrangea Turning Brown?
They claim that nothing lasts forever. This is accurate in regards to the lovely hues of our favorite hydrangea blooms and leaves. No matter what color your flowers and leaves were when they first opened, by the time the frost hit or some imbalances and incorrect care have been given, they all will become some shade of brown.
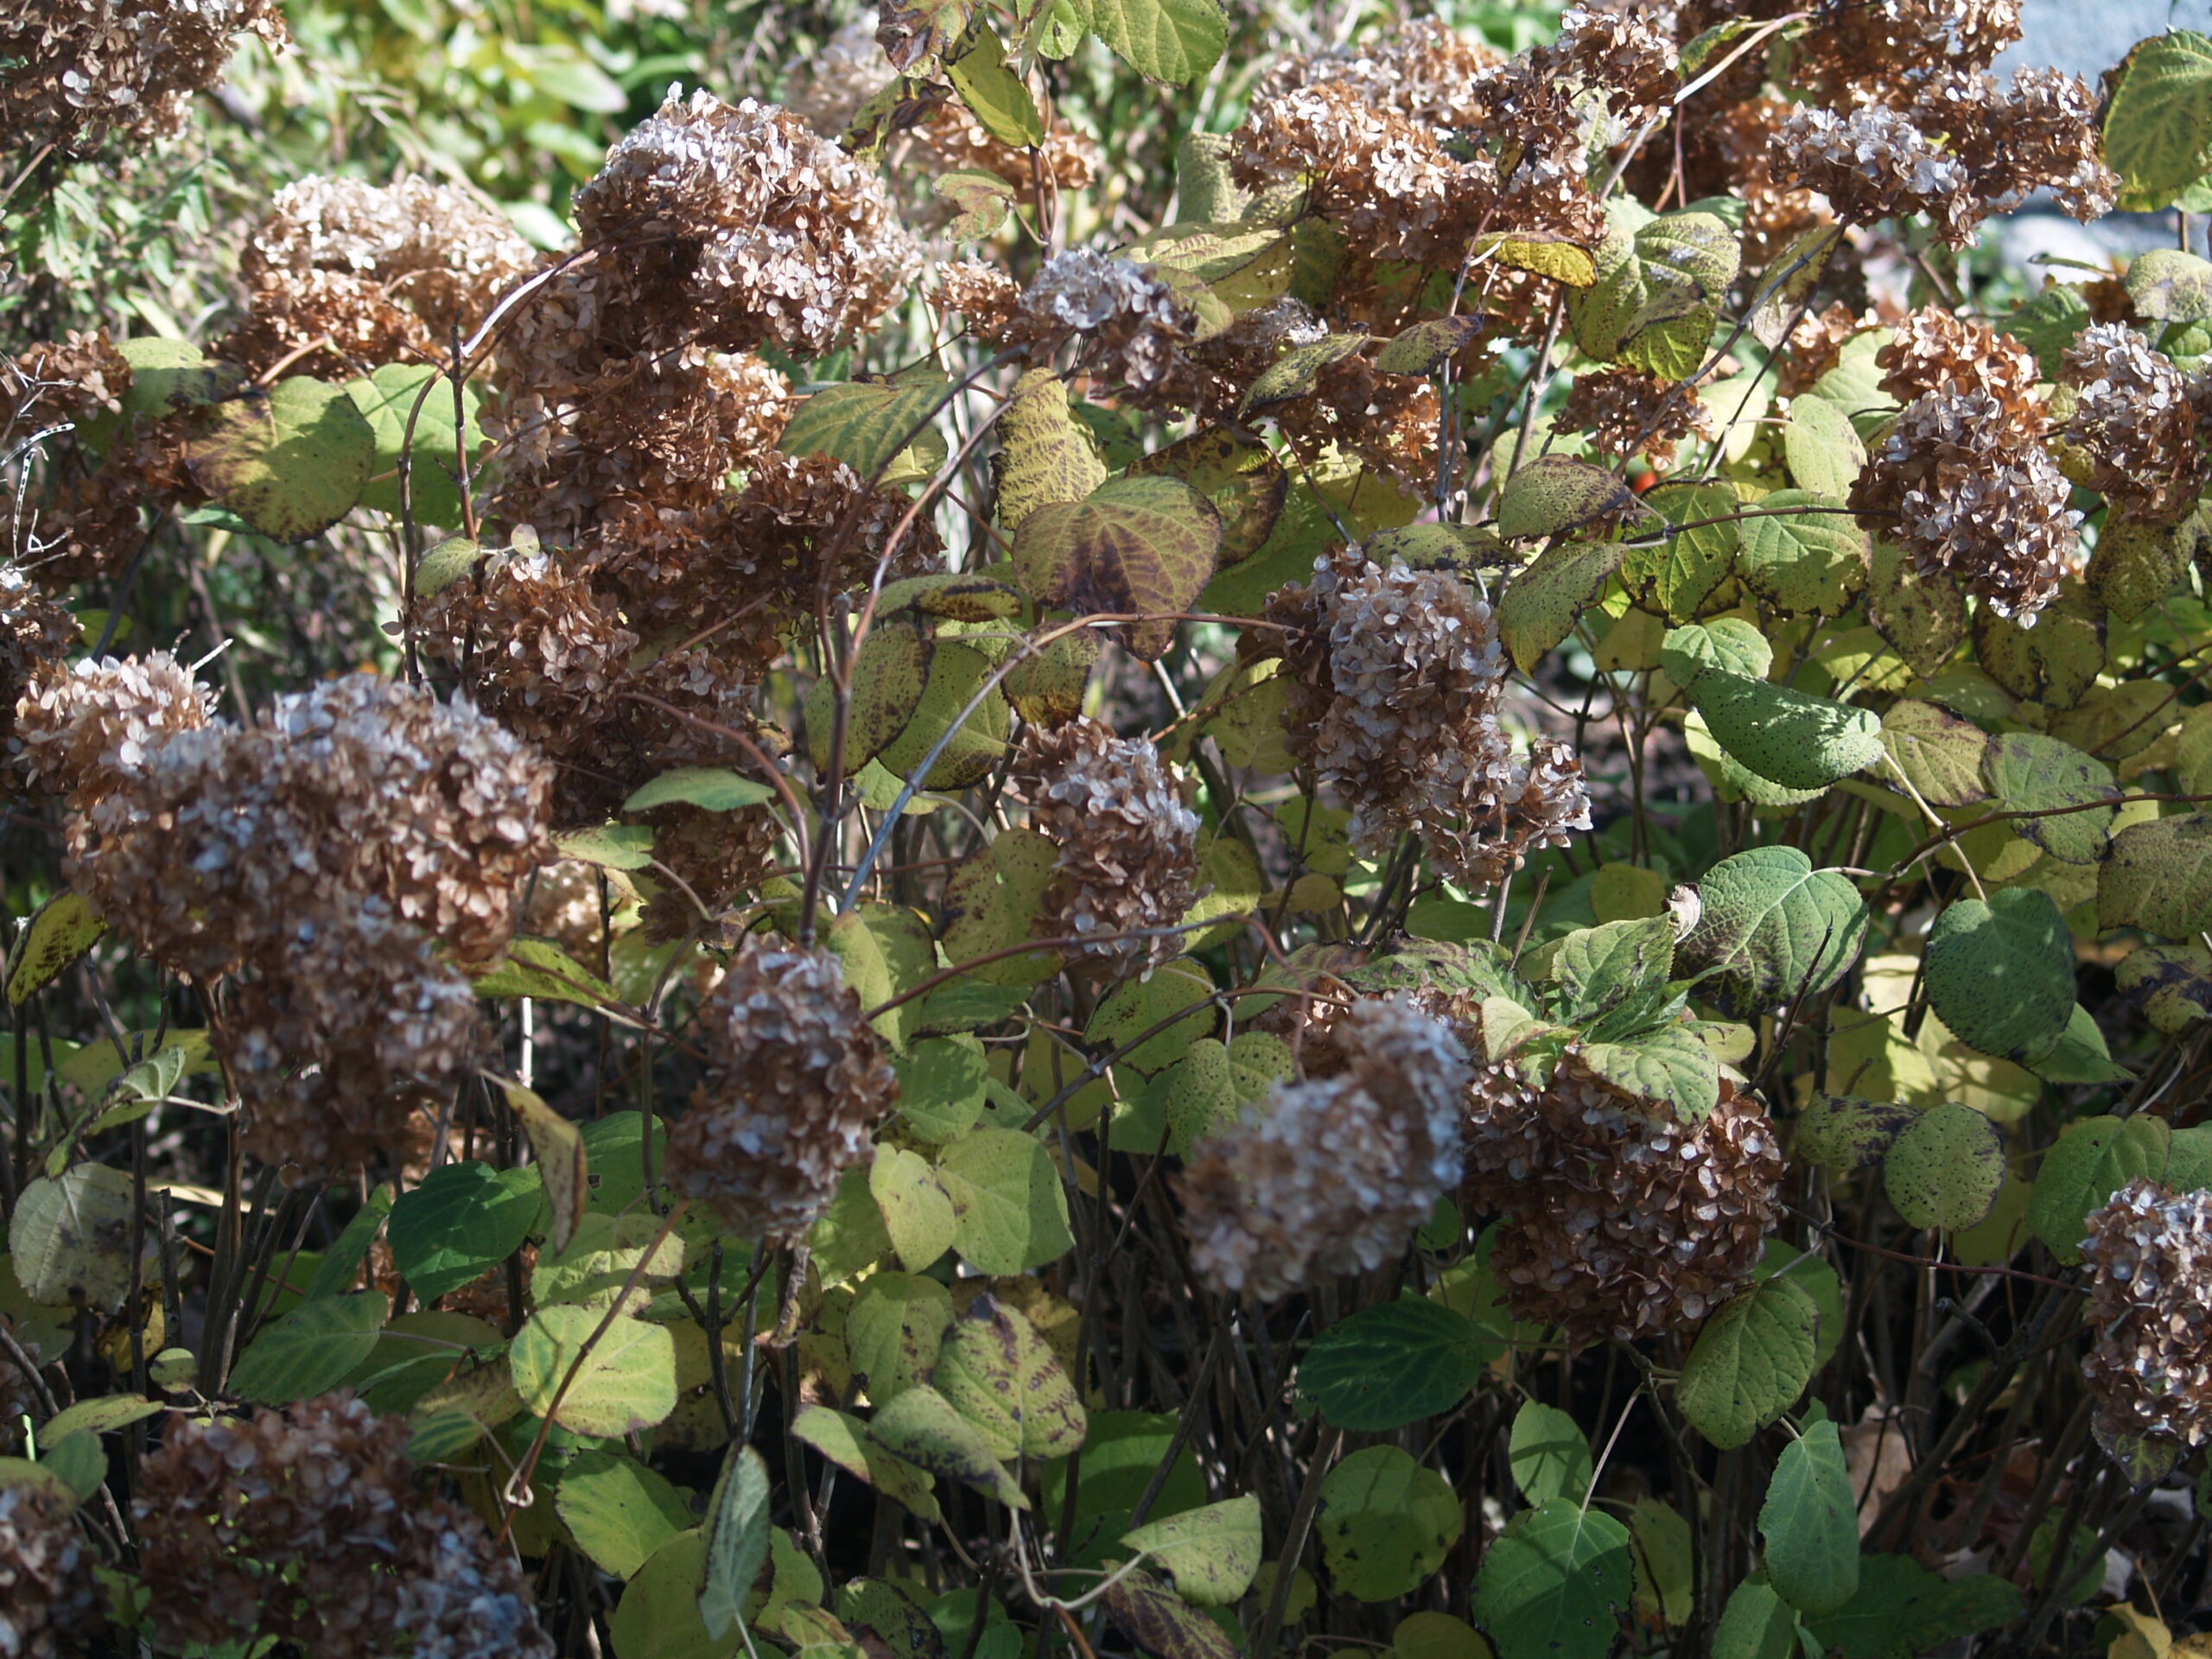
Depending on why your hydrangea plants are turning brown and dying, you may need to take different actions.
Your hydrangeas will often begin to have brown hydrangea leaves and die for three main causes. Infection by bacteria or fungi, a lack of water, or an excess of fertilizer are these three factors that lead to plant mortality.
Let’s examine each of these reasons for hydrangea death to learn how to spot the problem and how to fix it.
1. Fungal or Bacterial Infection
Hydrangea leaves turning brown is often caused by fungal or bacterial infection. There will be patches on the foliage if fungus or bacteria are turning the green leaves on your hydrangeas brown.
RELATED: 7 Common Pests That Feed On Hibiscus Leaves & How To Get Rid Of Them!
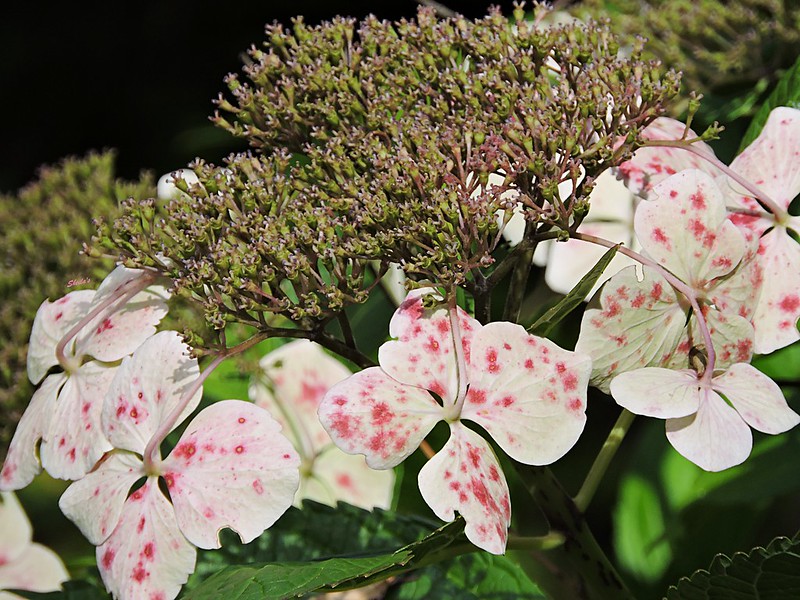
If you notice white spots, a fungus, such as the leaf spot fungus, is probably to blame. However, there is a significant possibility that bacteria is to blame if the spots are predominantly black.
There is too much water in the environment, which might lead to bacteria or fungi growth. Your plants’ surroundings with too much water provide ideal circumstances for the growth of germs or fungi.
Solution
Reduce the amount of water being delivered to your plants as the first step in assisting your hydrangeas. Reduce how frequently and for how long you water your hydrangeas each week to achieve this.
Getting rid of any leaf litter near the base of your hydrangeas might also be beneficial. Extra leaf detritus may serve as a haven for germs and fungi to grow. Additionally, cutting some of your hydrangeas to improve ventilation helps slow the growth of bacteria and fungi.
After you have reduced the water level, removed any leaf litter, and enhanced airflow, you must either treat the fungus or the bacteria. Many products on the market treat both of them if you are still determining which one you are dealing with.
2. Underwatering
Low water is another factor in the browning and drying of hydrangeas. Again, the easiest issue to diagnose and resolve is low water. The leaves of your hydrangeas will be drooping, and the soil will feel dry to the touch if they are experiencing a water shortage.
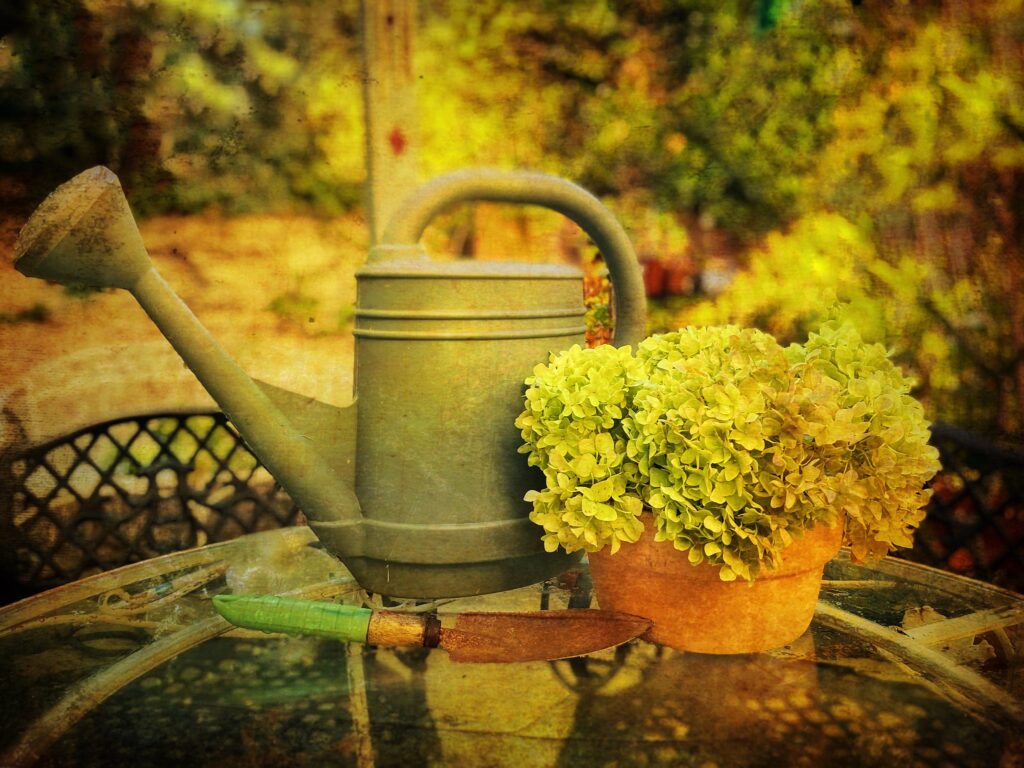
If you’ve determined that your hydrangeas’ damage is due to poor water, the answer is to give your plants more water.
Solution:
It’s ideal to give your plants more water by increasing the watering timings by 5 minutes and adding no more than one additional day per week to your watering regimen. To avoid the potential dangers of overwatering, it is crucial to increase the amount of water gradually.
If your hydrangeas don’t appear to be recovering after a week, gradually increase the amount of watering you give them each week until you see a difference in how they react.
3. Overfertilization
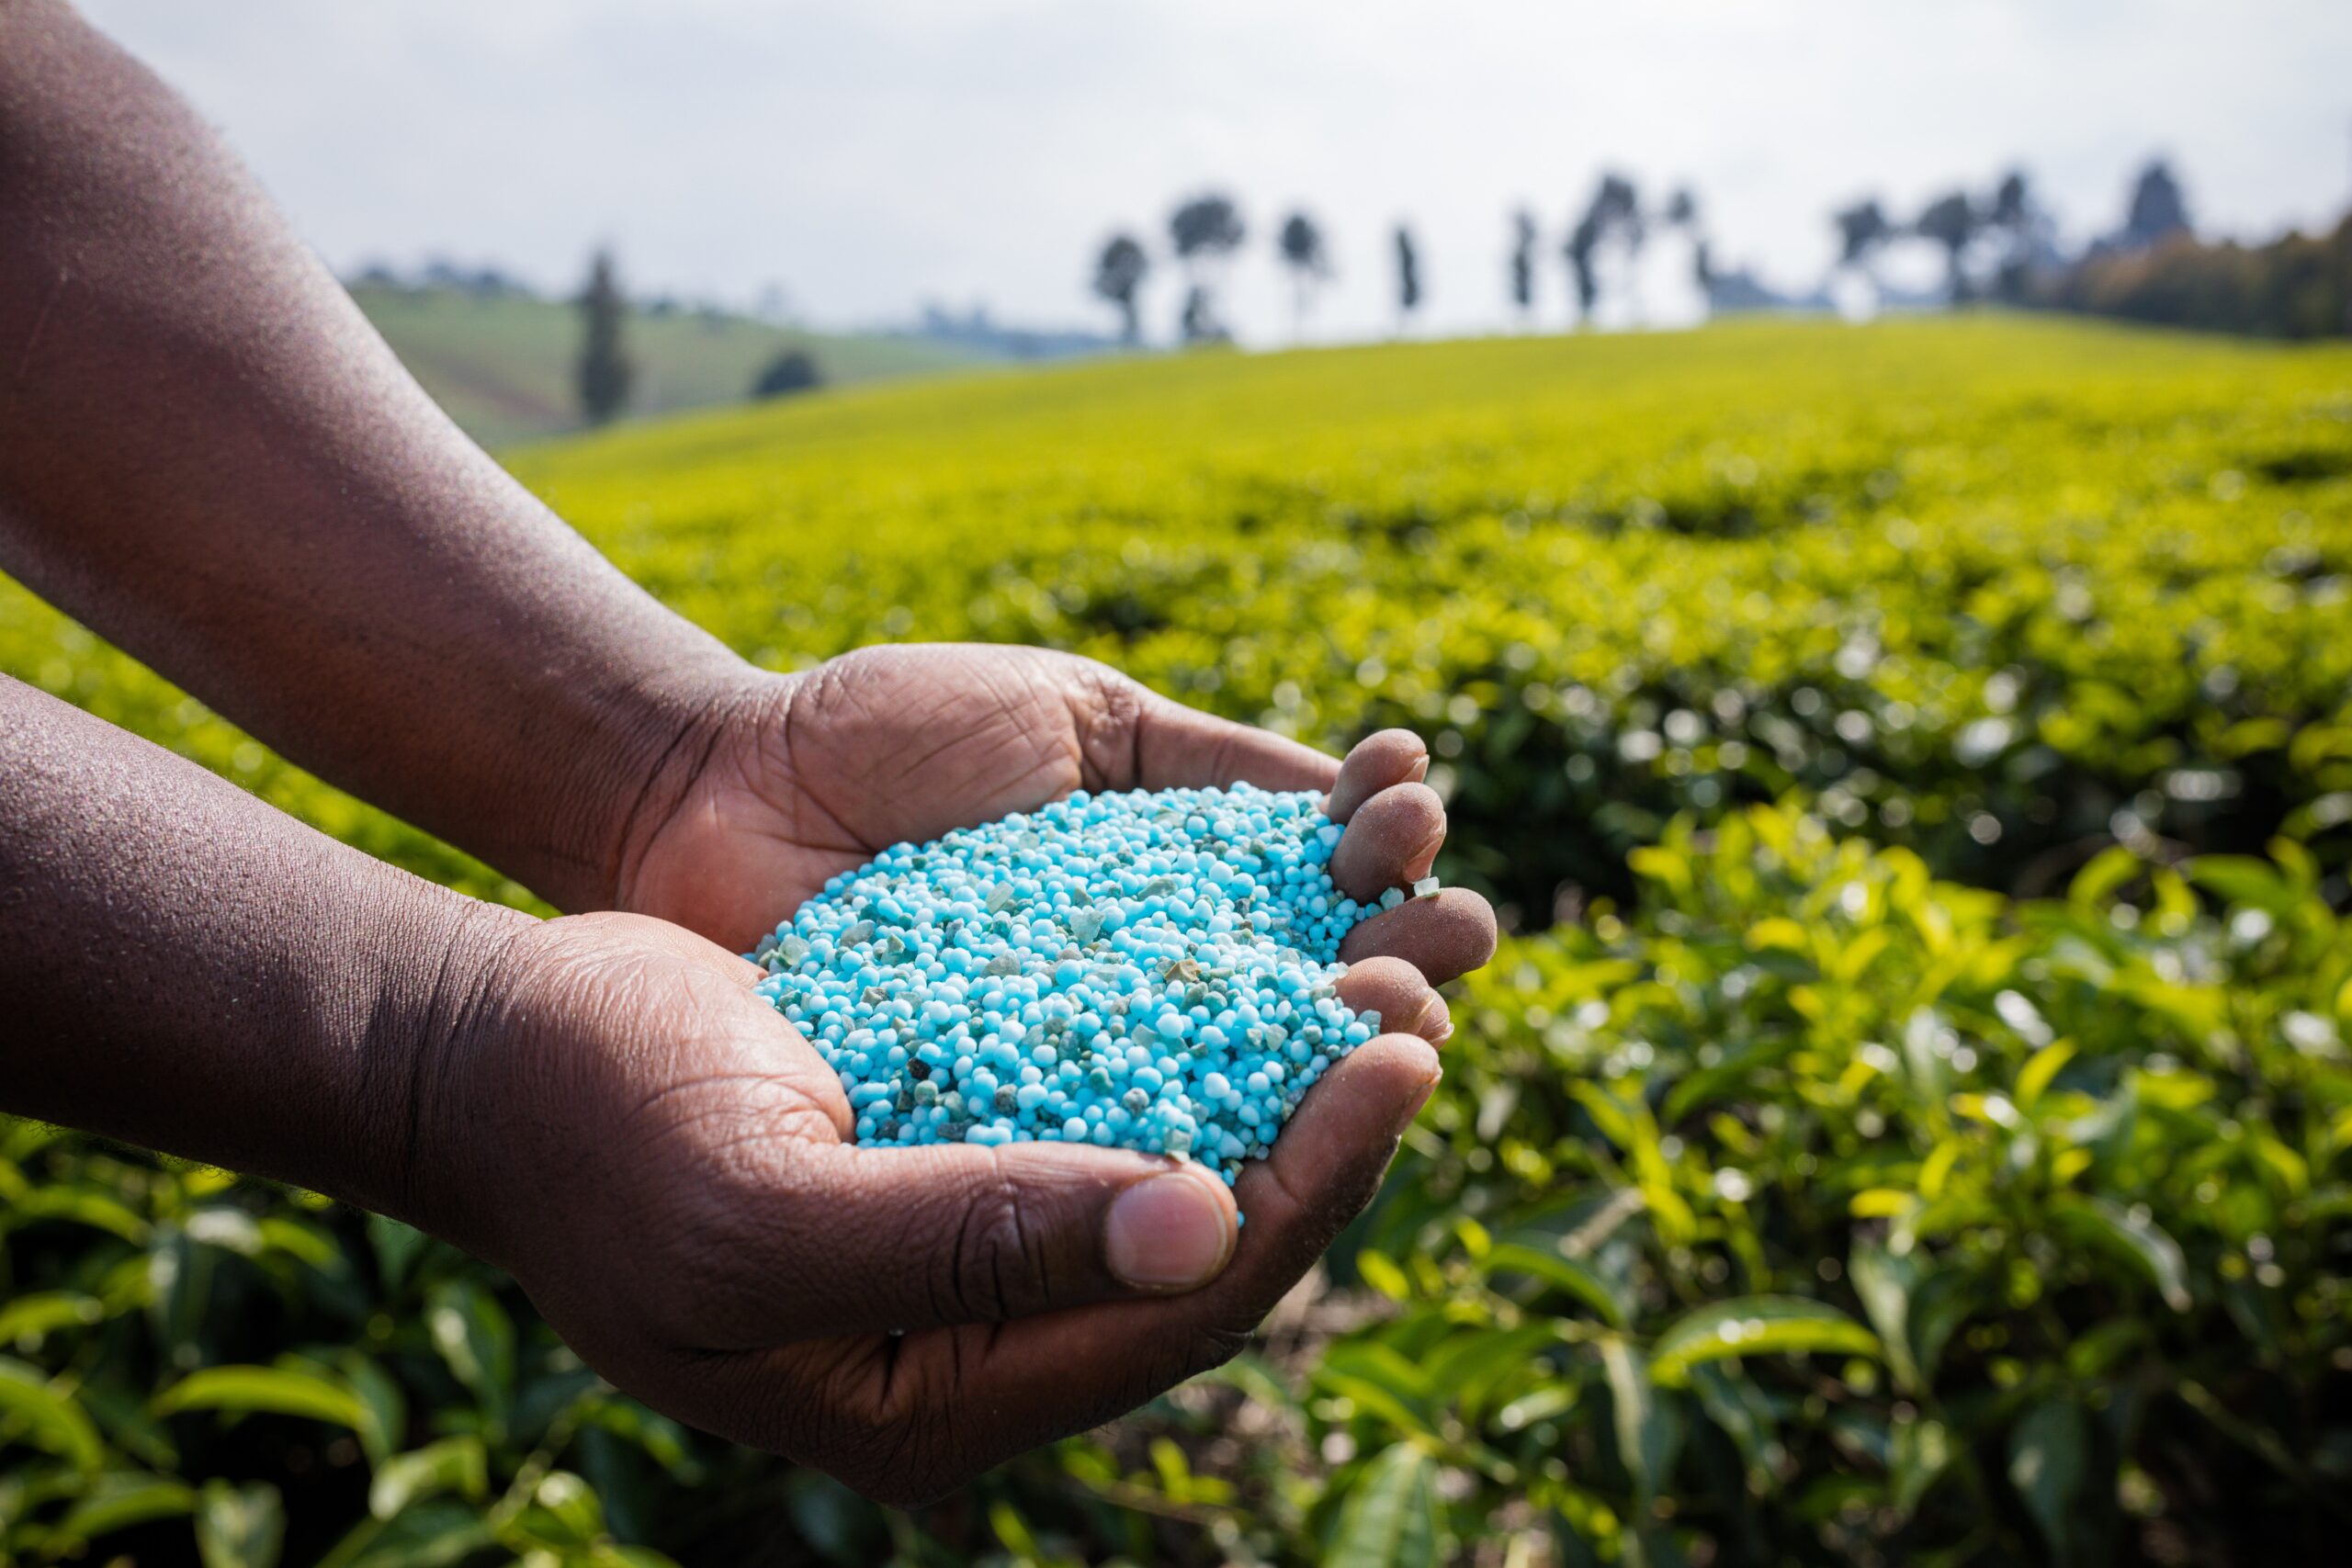
Too much fertilizer can cause fertilizer burn. If too much fertilizer is what’s causing your hydrangeas to turn brown and die, you probably would have noticed the issue a few days after fertilizing. Another indication of overfertilization is when the entire leaf, rather than just a few areas, starts to turn yellow and die.
Solution:
To remove extra fertilizer from the ground surrounding your hydrangeas if you have overfertilized them, water the area. For at least ten minutes, wrap a hose around the base of each Hydrangea.
After fully wetting the earth, wait a few days before watering again. If the surplus fertilizer has been successfully eliminated, your hydrangeas should start to recover within a week.
You will need to re-soak your hydrangeas to remove additional fertilizer if, after a week, they start to look sickly and yellow.
You’ll know you’ve rinsed away enough fertilizer when your hydrangeas appear healthy.
4. Poor Drainage
For potted hydrangeas, the roots may stay in too moist soil for a lot longer than they should if the container has poor drainage. It is truly alluring to select one of the numerous lovely pots without drainage holes that are offered for your potted Hydrangea.
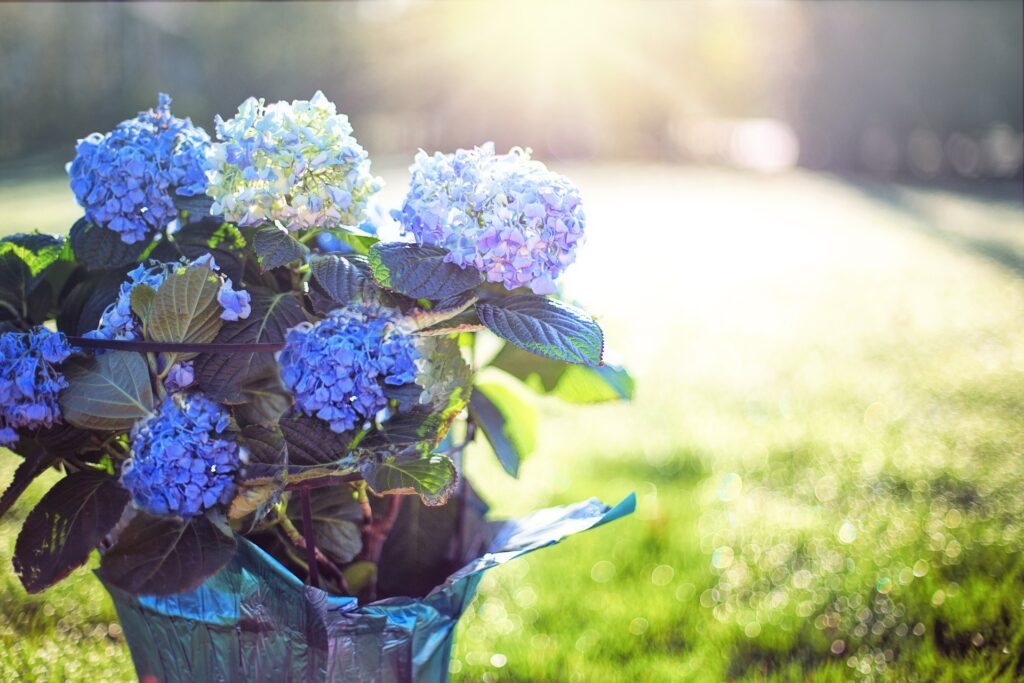
Long-term, however, it is better to use a container that has at least one drainage hole in the bottom. An alternative is to use a well-draining container concealed inside an attractive cachepot.
Solution:
Even if your pot includes a drainage hole or holes, check to make sure they aren’t blocked. Simply move a chopstick or a finger up and down. Take the plant out of its container and determine whether it is root-bound if you run into resistance. In this scenario, loosen the roots and repot in a little bigger container.
If you don’t need to use a larger pot, remove any pebbles and loosen any dirt clumps that are obstructing the drainage hole before replanting the plant in the same container. In addition, after watering, dump any saucer, pot, or catchment at the foot of the container.
5. High Temperature
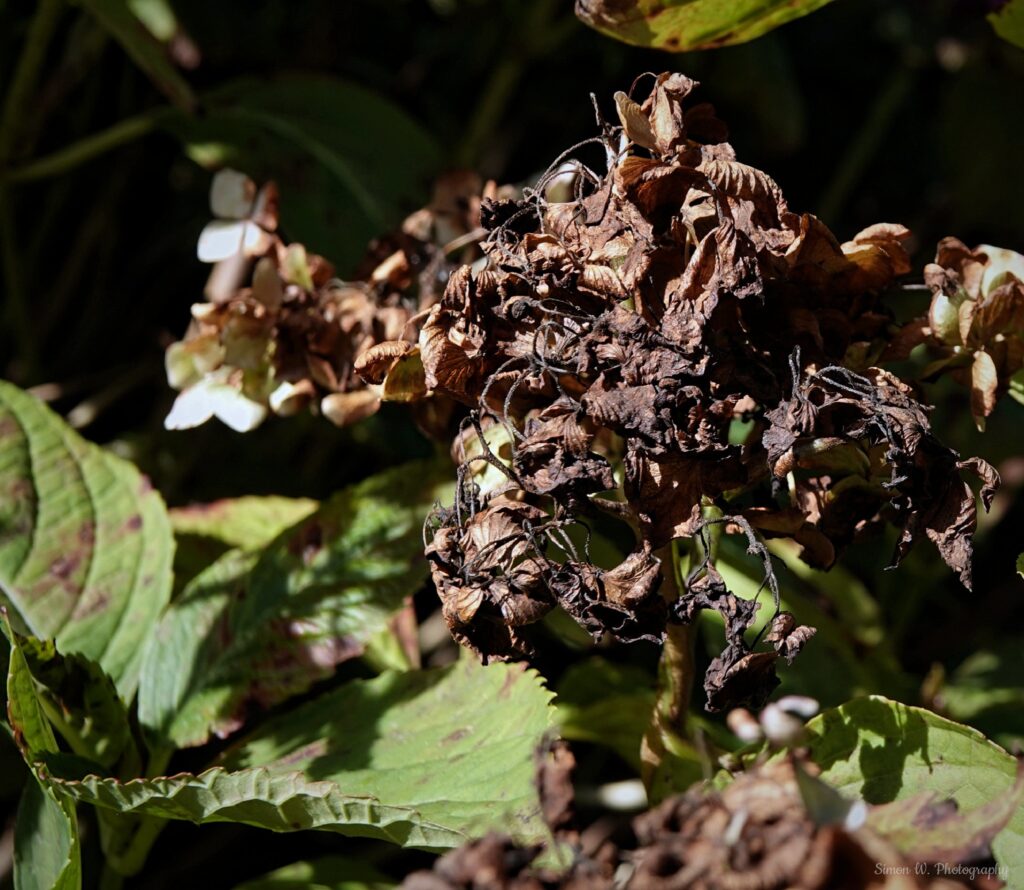
Although Hydrangeas are generally not fussy, they do, like all plants, need a certain temperature range to survive and grow. Although these plants like being warm, there is such a thing as too much of a good thing. If the temperature drops too low, they will suffer. Consistently high and low temperatures can stress the plant, turning your lovely Hydrangea to have brown leaves and hydrangea buds.
Solution:
If it’s too warm, move your plant to a cooler spot away from windows that receive direct sunshine, or during heat waves, crank up the air conditioning. Additionally, during the winter, plants should be maintained away from heat vents. Not only is it hot where the vents are, but the forced air also dries the soil and vegetation more quickly.
Although you don’t have to rely solely on heat, if the weather is too cool in the winter, it’s a wonderful excuse to raise the thermostat. Avoid positioning the plants near an air conditioning vent in the summer and consider moving them away from windows or doorways.
6. Low Humidity
Placing the hydrangeas near heating vents that may blow hot air or cold air could cause their leaves and blossoms to wilt and become brown. In addition, if the leaves do not receive the humidity they require to survive, the tips of the leaves may turn dry and brown.
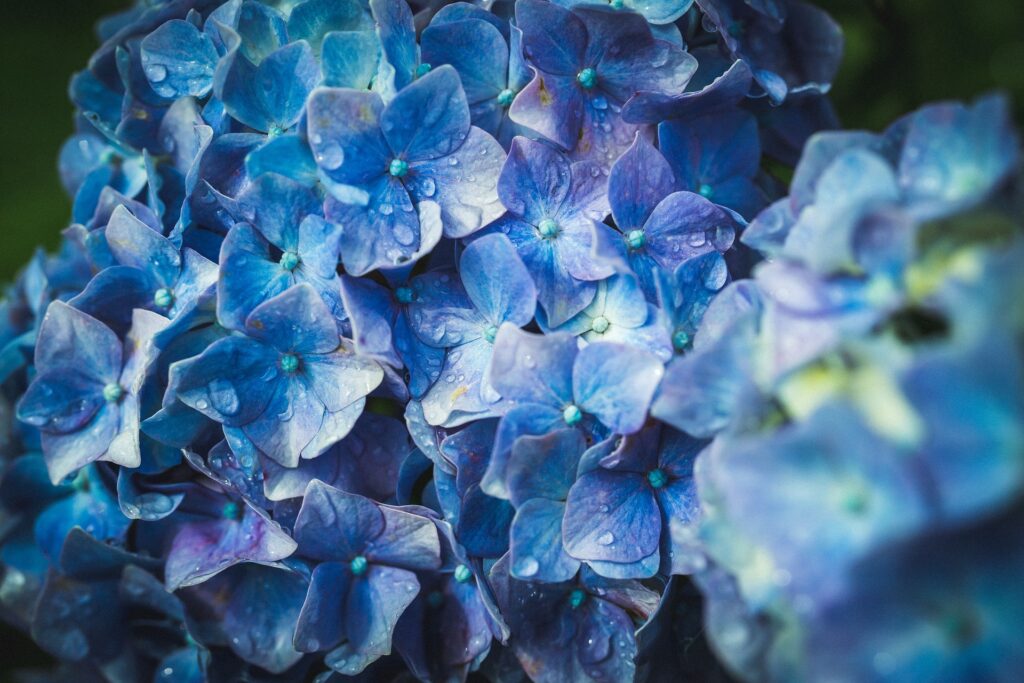
Solution
The good news is that there are several ways to raise humidity. To increase the humidity level surrounding your plant, you can move it to the bathroom or gather several houseplants together.
Using a tray with water and pebbles, you can easily raise the humidity level around your plant. Place the plant on the tray; as long as you remember to top off the water periodically, the evaporation-produced moisture will help maintain the leaves glossy and green.
Another approach, albeit time-consuming, is to mist the leaves with a spray bottle once or twice daily. If you choose to do this, think about getting a plant mister to make the process quicker and simpler. To raise the total humidity in the space, you can also get a humidifier.
7. Sun Scorch
Hydrangeas cannot withstand direct sunlight. Keep them 3 to 5 feet away from windows that let in natural light, or put them in a window that faces north to reduce stress.
If you keep your Hydrangea plant in a spot that gets direct sunshine, it gets too much sun and sun scorch could happen. Typically, this starts at the tips of the leaves, which dry out and turn brown. However, if you don’t change the solar exposure, the brown areas could develop deeper down, and whole hydrangea leaves turn brown.
Solution
Moving the plant to a location with less light is perhaps the easiest solution to this issue.
Consider covering the window with sheer drapes to block out light if you like the plant’s current location. Typically, a window facing north is acceptable. However, any other window that doesn’t have a curtain or blind will probably get too much sunlight for your Hydrangea.
How Do You Maintain The Good Health of Your Hydrangea?
Healthy hydrangea maintenance is simple. However, it does involve keeping an eye on your plants and attending to their requirements.
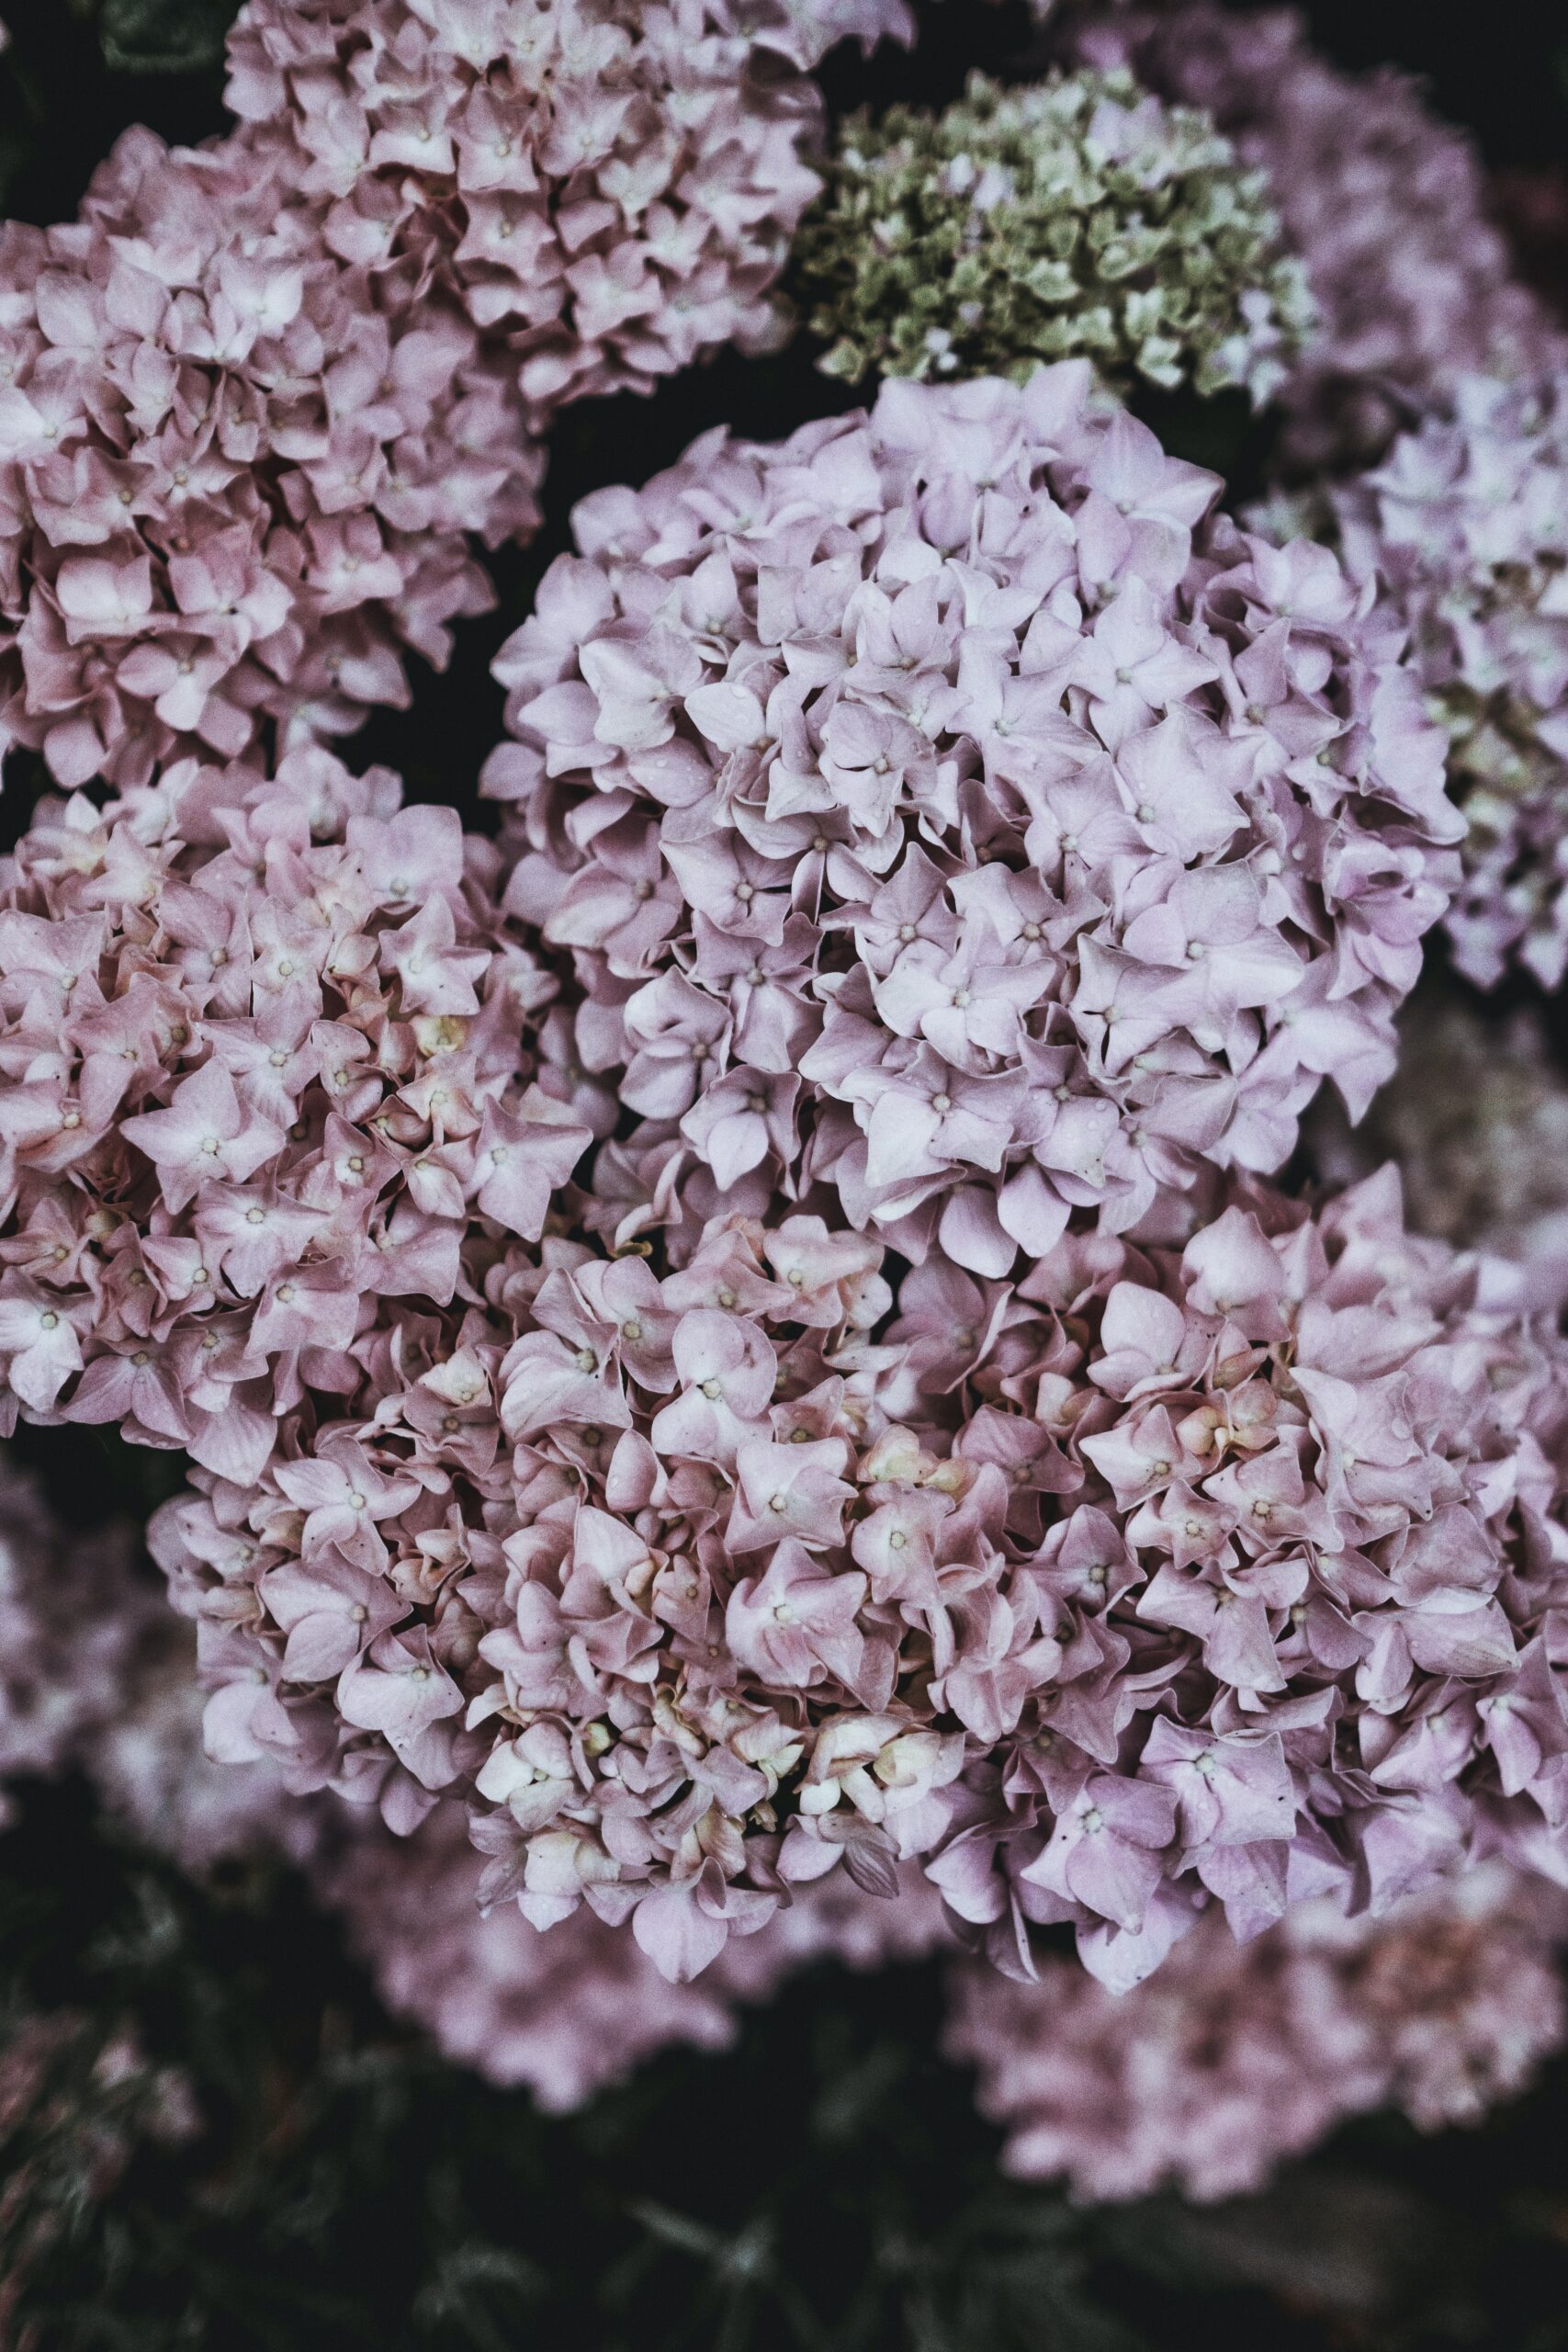
The first step to making sure your hydrangeas are healthy is to follow the recommended watering regimen. Hydrangeas require at least 20 minutes of watering three times per week. This should enable the water to permeate the soil deeply and promote the development of deep roots.
A suitable fertilizer regimen is the next step to healthy hydrangeas. When your hydrangeas first start to show new growth in the spring and again in the summer to promote health, it would be great to fertilize them twice.
Each Hydrangea’s base should only receive a modest amount of fertilizer. Per plant, a quarter cup of fertilizer is the recommended amount. However, it will be adequate if you put on gloves and scatter a modest amount of dirt around each plant.
Pruning correctly is the last step to maintaining the health of your hydrangeas. Hydrangeas should be pruned ideally right before spring but after summer.
While some people enjoy pruning their hydrangeas in the fall, others prefer to leave the tall stocks so that their yard remains visually appealing throughout the winter.
Your hydrangeas will be strong and beautiful with yearly pruning, appropriate watering, and fertilizer.
How Do You Correctly Prune A Hydrangea?
You’ll need a pair of hand pruners to prune hydrangeas. With your hand pruners, trim each stock of the hydrangeas to a height of a few inches. Make sure to cut the stock exactly above the bulbous areas.
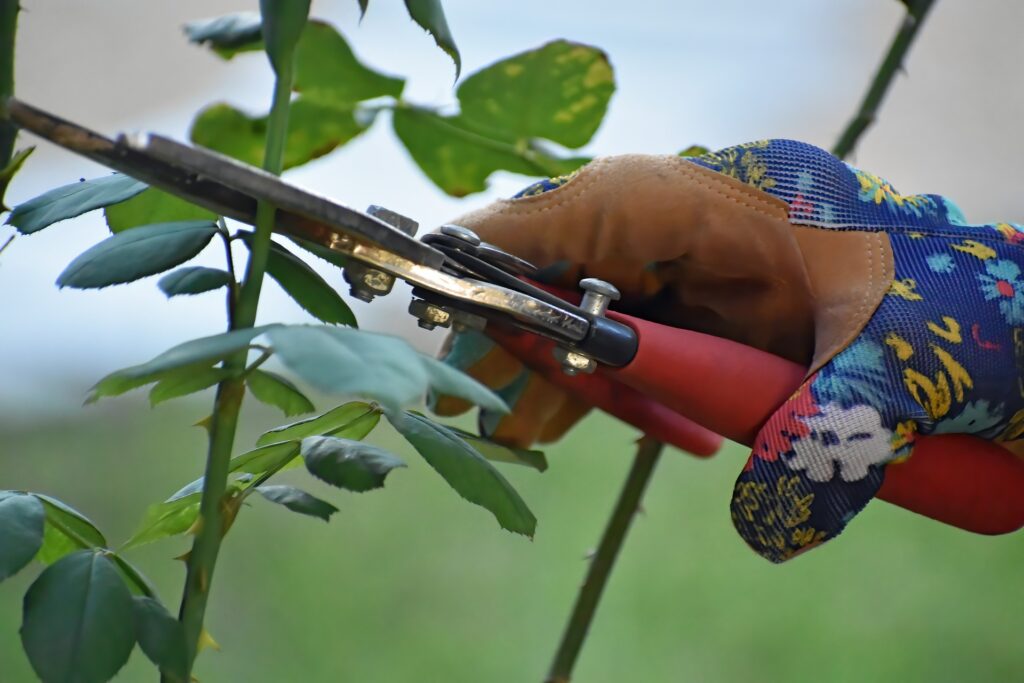
The plant uses these bulbous nodes on the stock to develop additional stocks. Your hydrangeas can produce healthy new stocks in the spring by cutting above these.
When cutting through the stocks, hold your hand pruners at a 45-degree angle. Cutting the stock at an angle ensures a clean cut and avoids cutting against the plant’s grain.
Because plant trimmings can harbor fungus, which then spreads to your hydrangeas, be sure to rake and remove them from the area around your hydrangeas.
Once the area around your hydrangeas has been cleaned up, check to make sure you didn’t miss any stocks, and then complete the pruning.
Frequently Asked Questions
Does a Hydrangea plant come back every year?
Yes, hydrangeas bloom once a year. After the summer, the plant’s top dies, but if it is cared for, it will grow back every year.
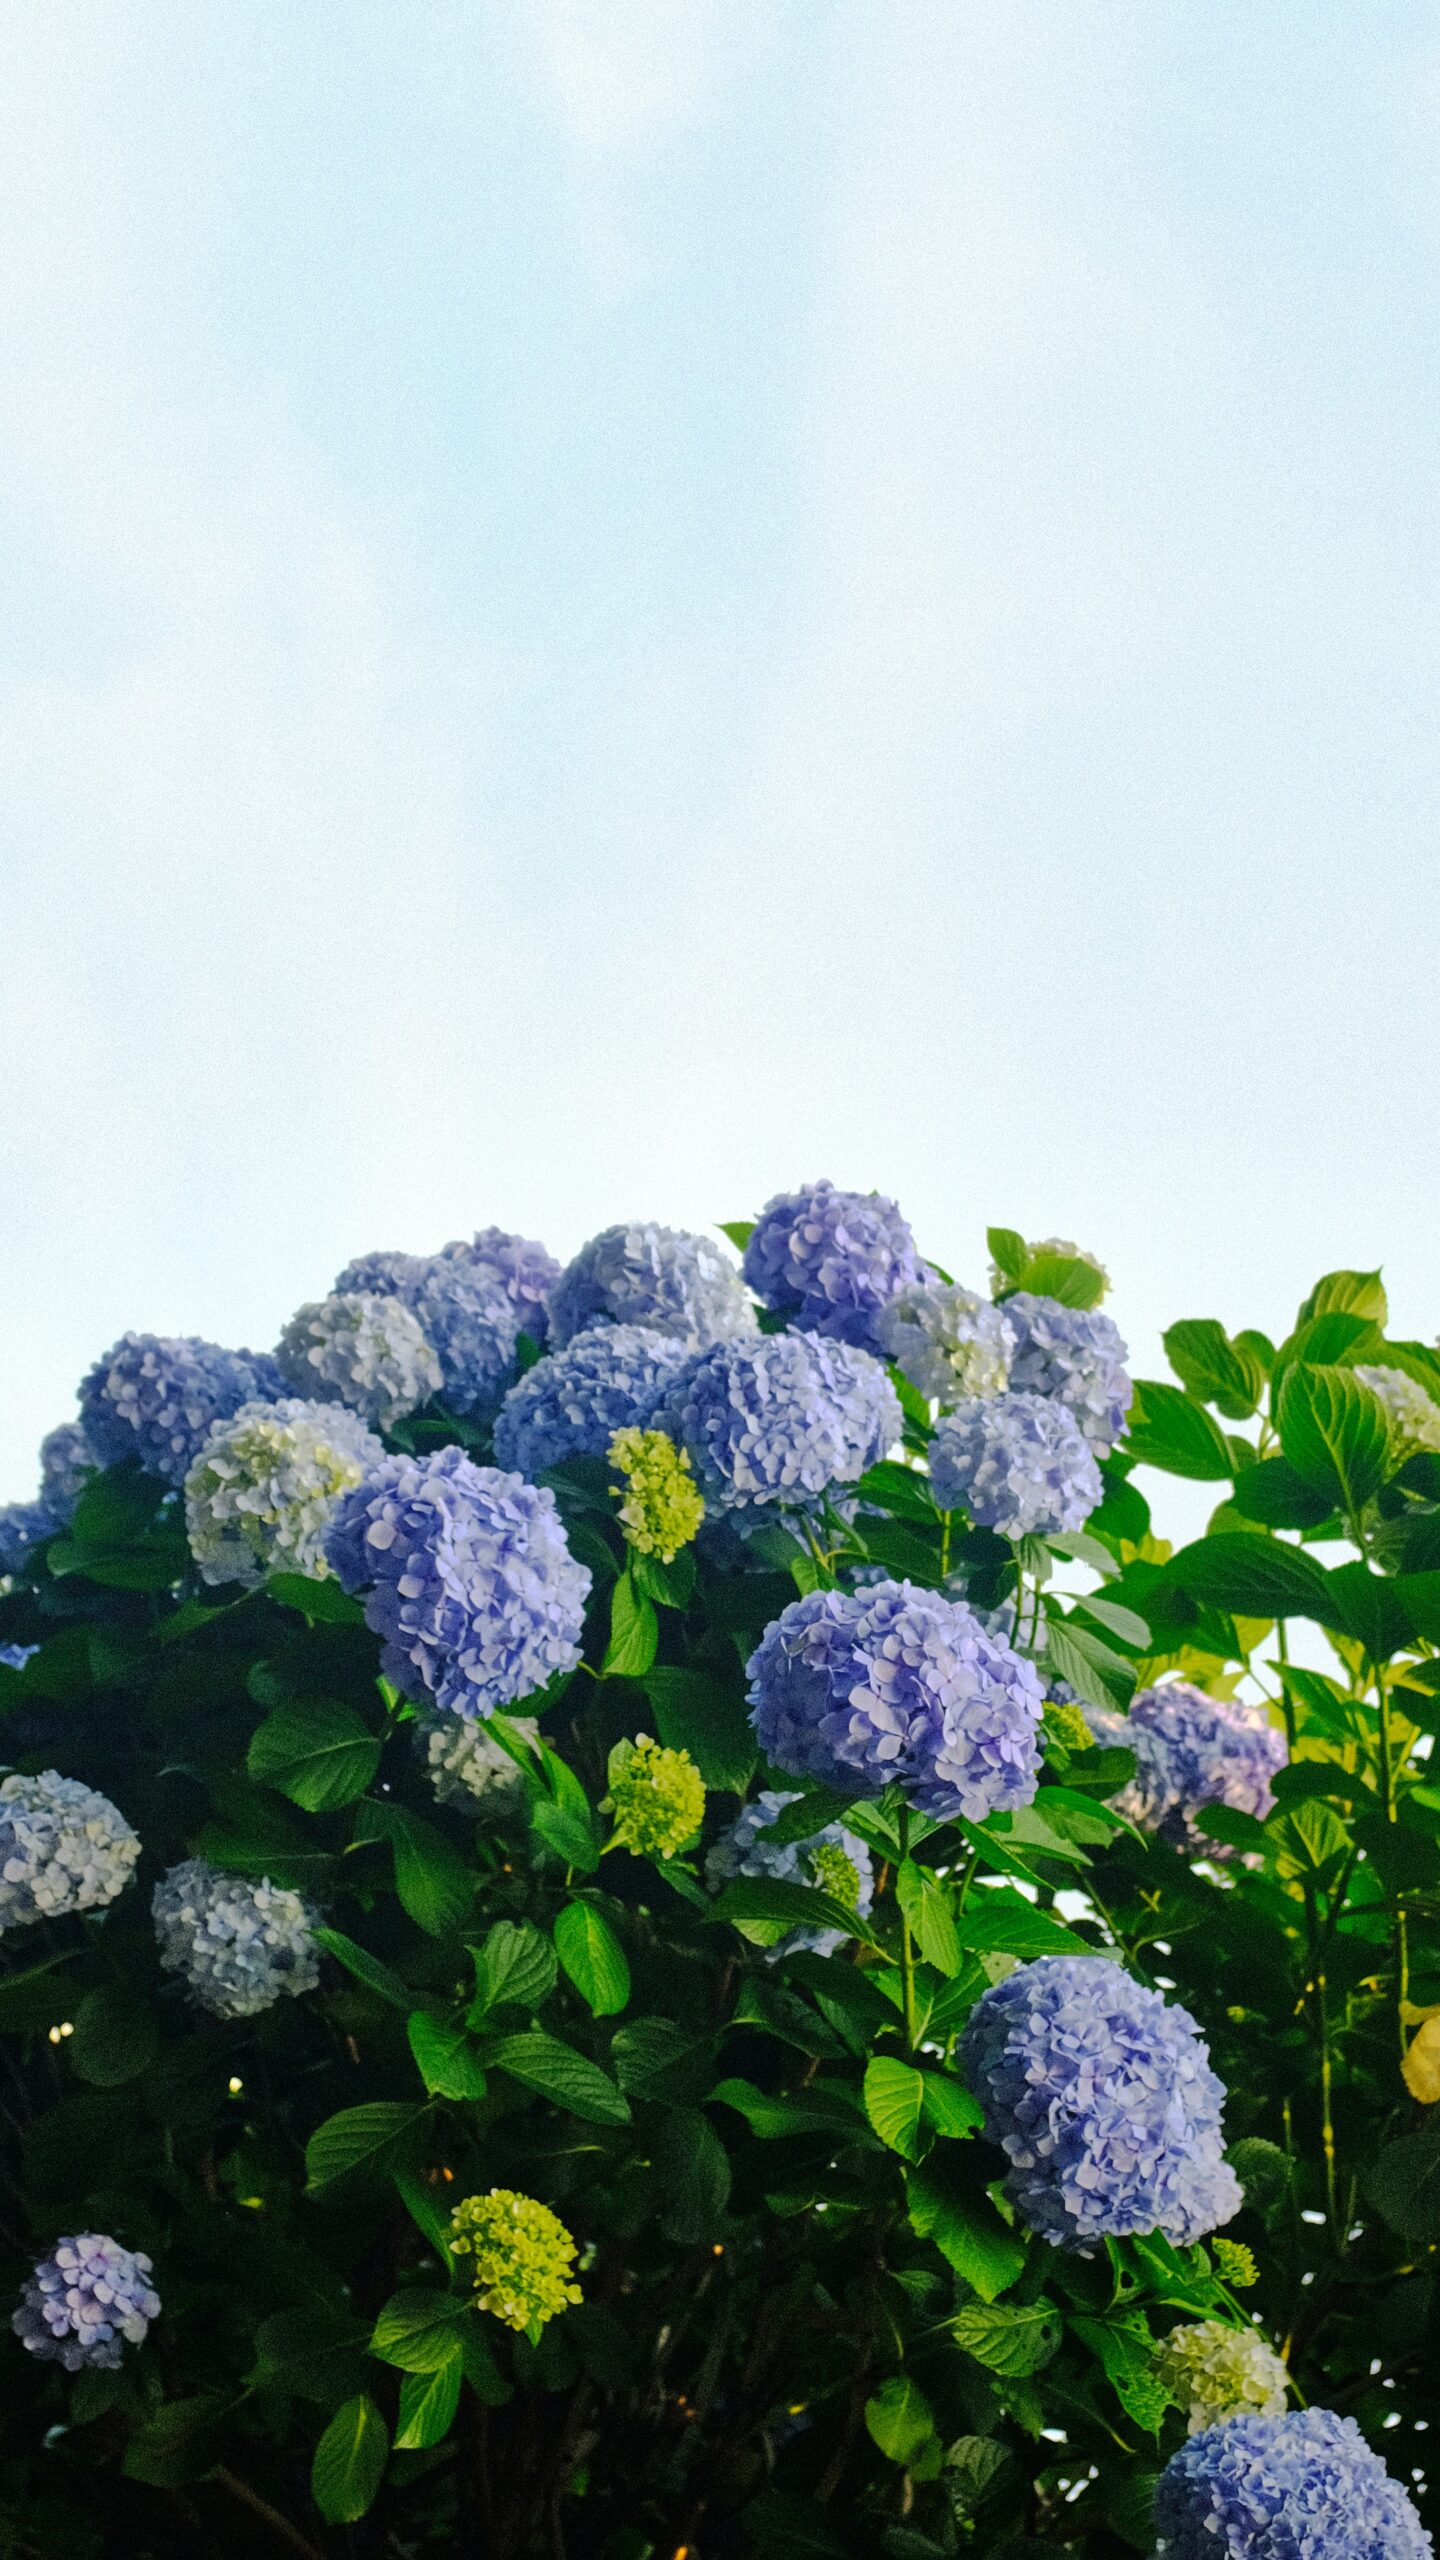
Your hydrangeas might not bloom every year in particular circumstances. However, that depends on the species of Hydrangea you have and your geographic location.
If the roots do not survive the winter, hydrangeas will not grow every year. Therefore, there’s a danger that your hydrangeas won’t survive if you reside somewhere where winters are severely cold.
Some hydrangea varieties may withstand harsh winter weather better than others. Hydrangeas with a Panicle shape are particularly suited to winter. Other hydrangea species, such as Big Leaf Hydrangeas, are even more sensitive to the cold and necessitate yearly replanting in regions with harsh winters.
How do you cover a Hydrangea plant during the winter season?
You must construct a tiny box around your hydrangeas and fill it with leaves to block the cold wind in order to protect them over the winter. This is important since frost-damaged hydrangea flower buds turn brown and will not be able to bloom.
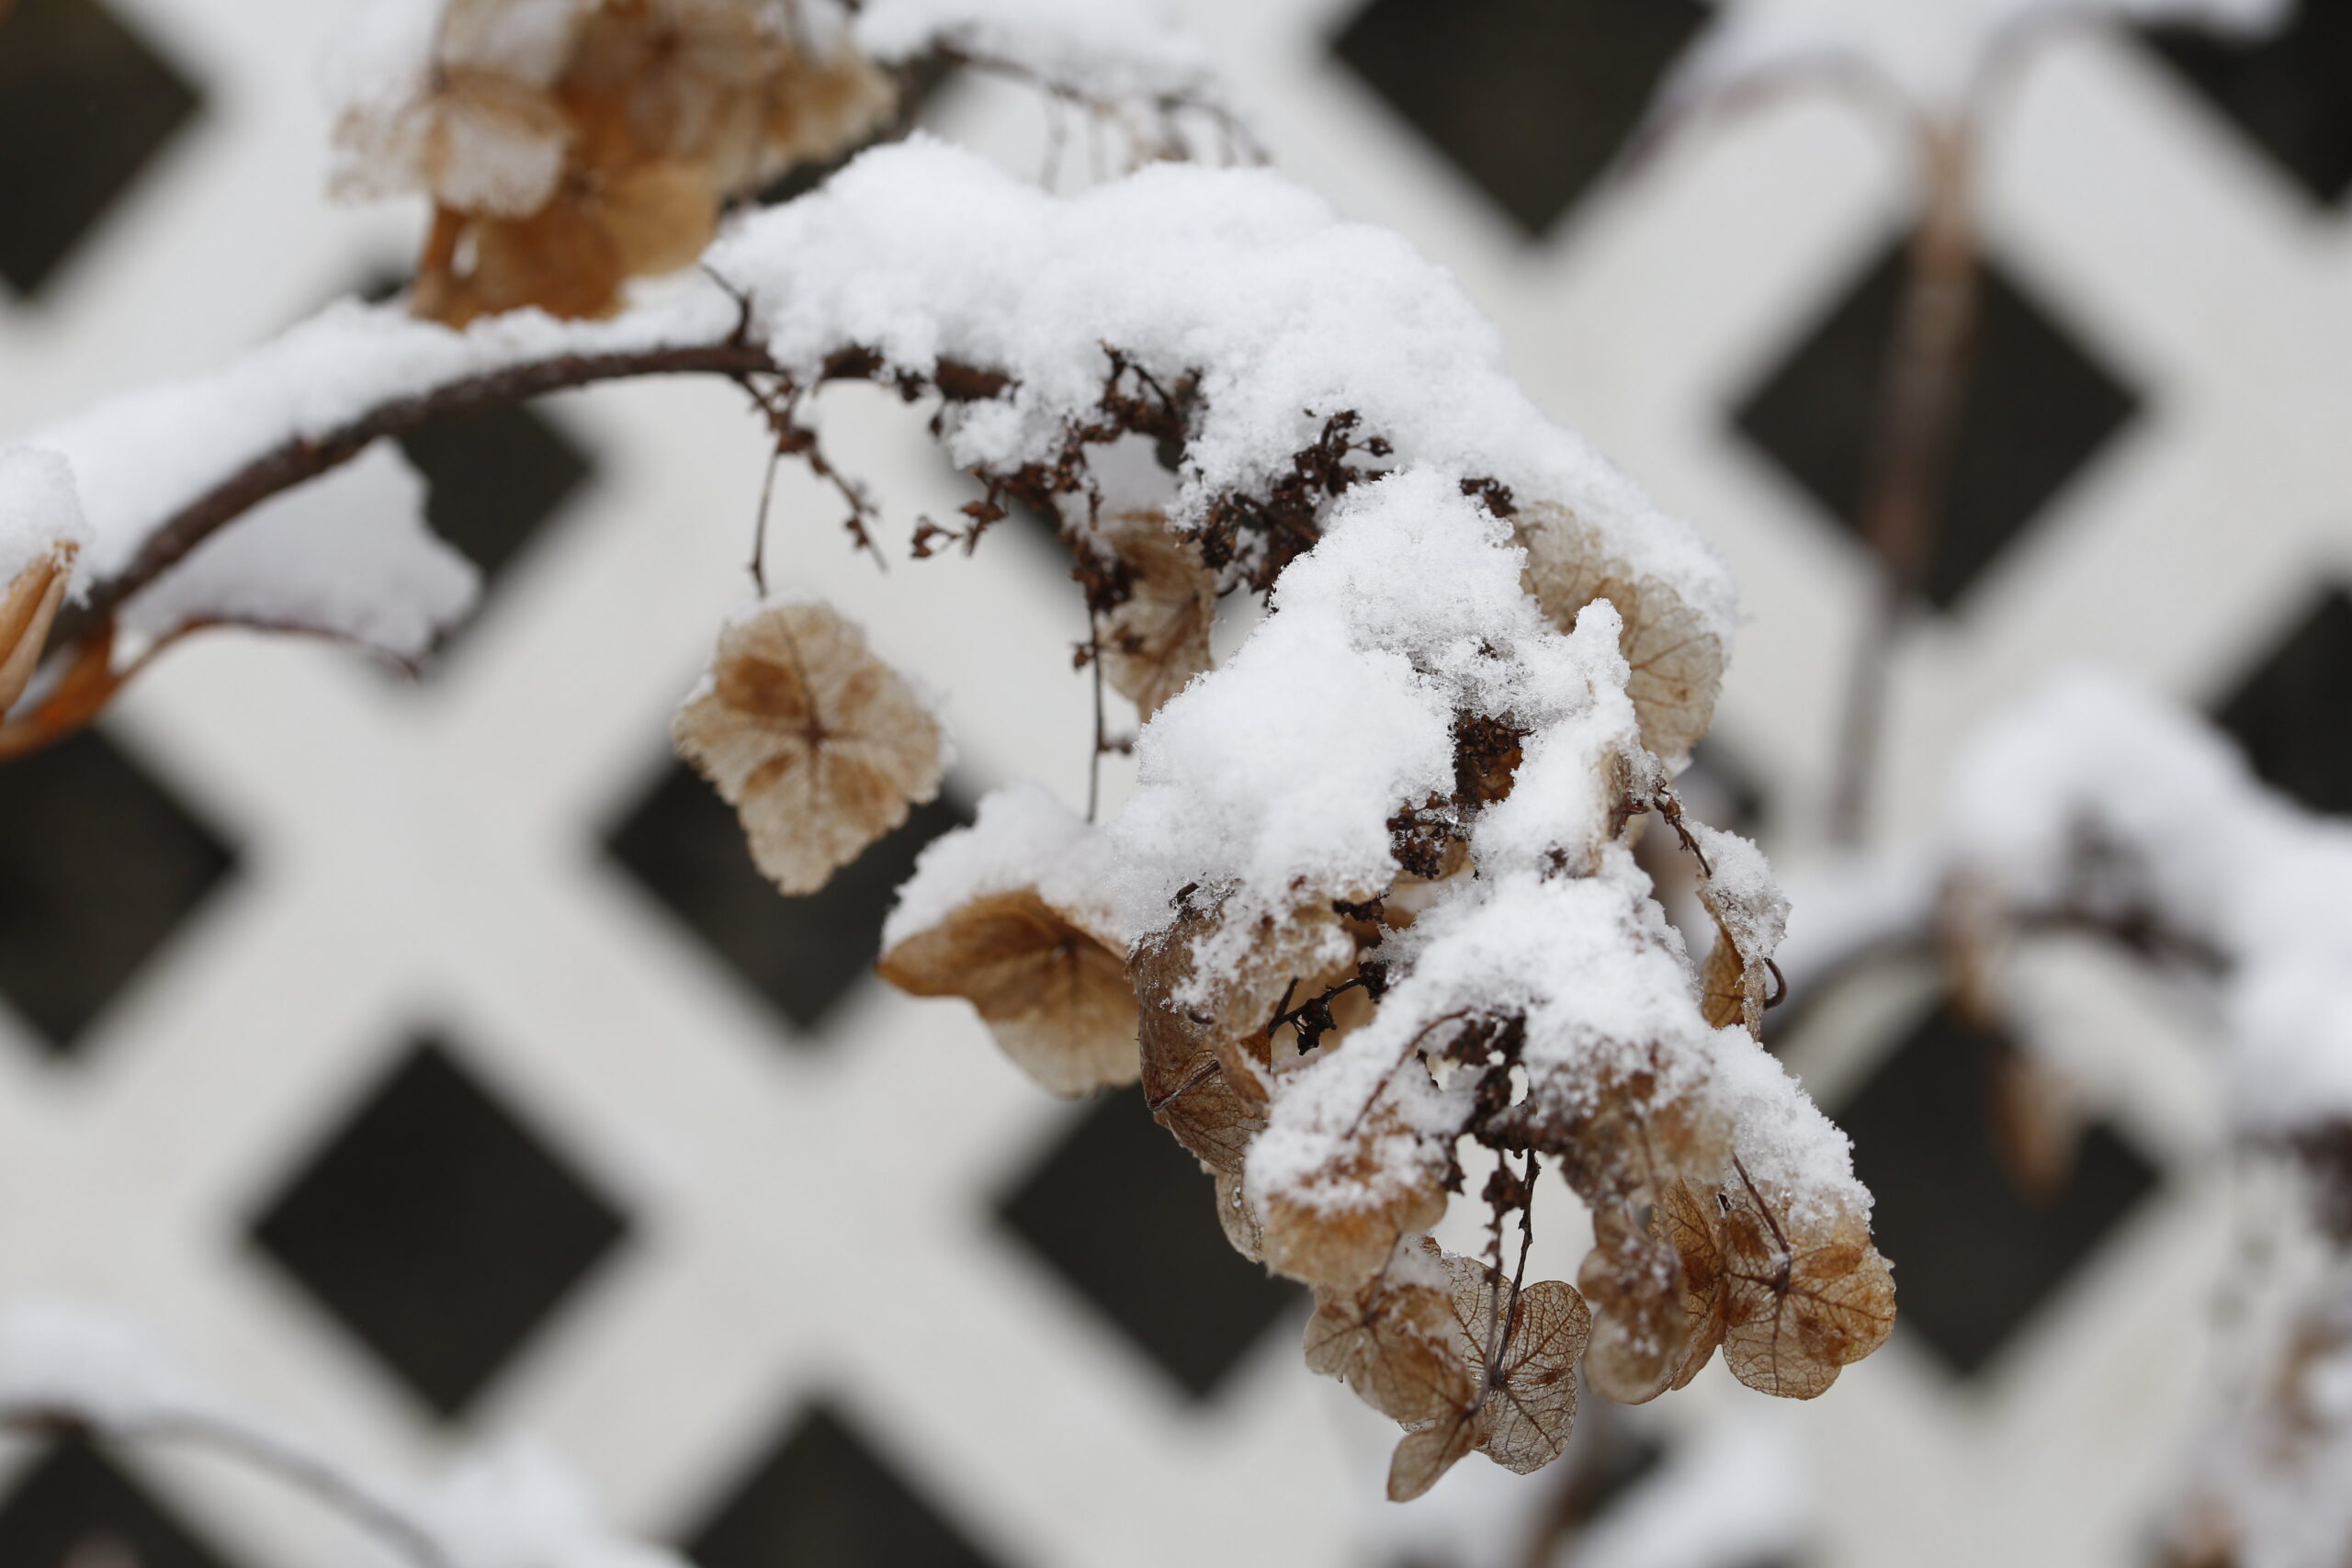
Four 1-foot-tall wooden posts placed around your plant and some chicken wire wrapped around them are a classic method for creating a box of leaves around your hydrangeas.
Make a tiny cage to hold the leaves, and then stuff it with leaves at least eight inches deep. Any leaf will do, but leaves with irregular shapes work best since they trap warm air in the spaces between them. In addition, pine needles can help protect your plant from the effects of wind chill.
You should also wrap the outside of the cage with a burlap bag to help block the wind if you reside somewhere where the wintertime temperature drops below zero degrees Fahrenheit.
As soon as cold conditions are doubtful in your location, make sure to uncover your hydrangeas.
Final Thoughts
This article taught us the main reasons why hydrangea plants and flowers turn brown and die, as well as what you can do to help. We also learned how to maintain the health of your hydrangeas.
Remember that hydrangeas return every year, but depending on where you live and the kind of hydrangeas you have, you might need to assist them survive the winter.
We hope you found this post interesting. Check out our ultimate guide for Hydrangeas if you want to know more about this gorgeous, heavenly plant.
You may also check the video below:
We hope you learned something from this article, here are other articles that you can learn from:
Please Be Patient: 5 Different Types Of Impatiens


