Spider plants are considered to be some of the most adaptable, fast-growing, and easy-to-care-for house plants out there.
They are becoming increasingly popular amongst foliage lovers, particularly those who need their plants to be low-maintenance.
Considering this, it comes as no surprise that snake plant owners are becoming increasingly interested in the concept of propagation.
At the end of the day, who wouldn’t want to fill their house with a gorgeous and hardy plant, for absolutely no cost?
If you fall into this category, check out our ultimate guide on snake plant propagation below.
From super simple step-by-step guides to how to provide your snake plant with the care it needs to thrive for 20 years or more, we cover everything! Read on – you’ll be an expert in no time.

About Spider Plants
Spider plants, also known as spider ivy or ribbon plants, have the scientific name ‘chlorophytum comosum’.
Spider plants are a species of evergreen perennial flowering plant native to tropical and southern areas of Africa.
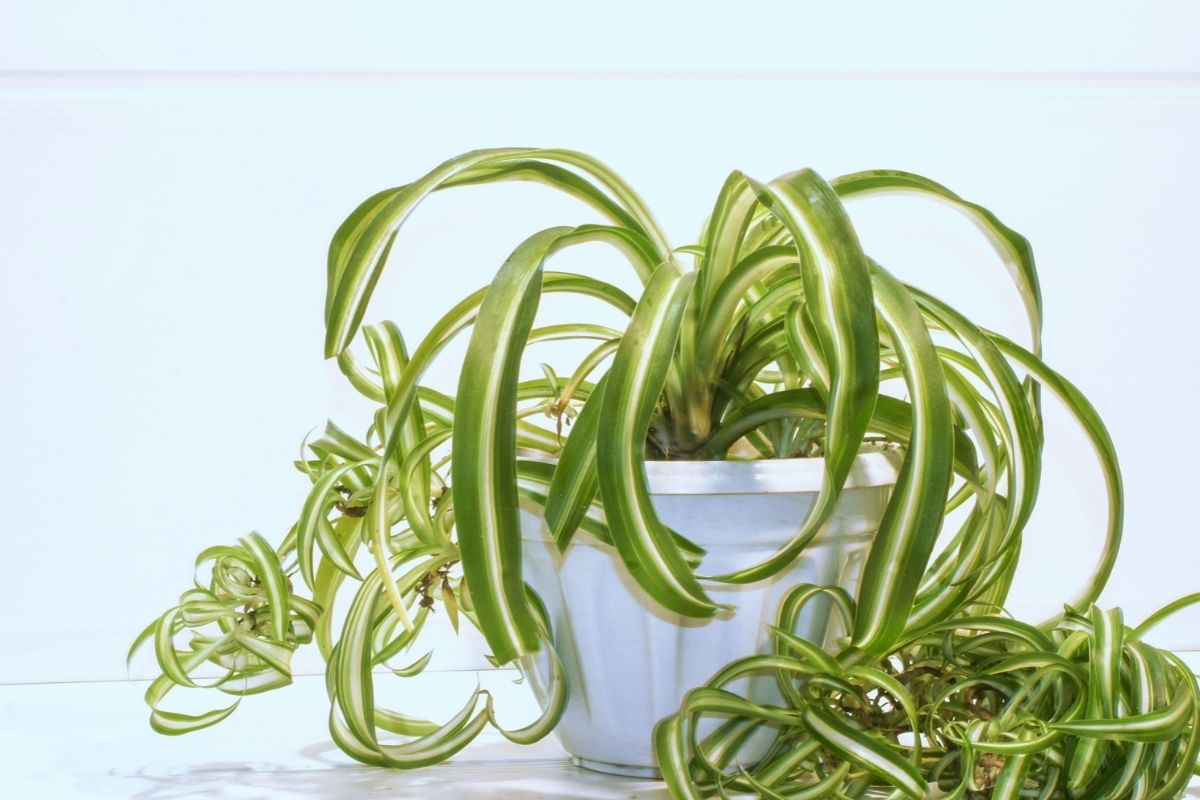
The spider plant gets its name from its spider-like leaves which dangle down from the mother plant like a spider’s web.
They have a very full and unique appearance that has won a place in the hearts of foliage-lovers everywhere.
In fact, thanks to its appearance and how easy it is to take care of, the spider plant has become one of the most popular houseplants available today.
They have also become a popular choice of a houseplant for propagation. Who wouldn’t want to fill their space with beautiful and low-maintenance foliage?
Spider Plant Propagation
To learn how to propagate your favorite snake plant, check out the information below. If you follow our step-by-step guides, your house will be filled with snake plants in no time (well… it will take some time, but you get the picture).
What Is Propagation?
Plant propagation is the process of creating new plants. Propagation can either be sexual or asexual.
Sexual propagation occurs as a consequence of the union between pollen (male) and an egg (female). This combination produces a seed.
Whilst some professional growers use sexual propagation to create new plants, casual houseplant owners tend to use asexual propagation.
This is because asexual propagation requires just one plant and no fertilization process, so it is a lot easier.
There are many different ways you can asexually propagate houseplants.
Below, we’ve listed the most common and successful methods of asexual propagation for spider plants, along with a simple step-by-step guide for each one.
Before we dive into it, it is necessary to mention some terminology.
If you have propagated other houseplants, such as succulents, you have likely done so by cutting a leaf or stem from the parent plant.
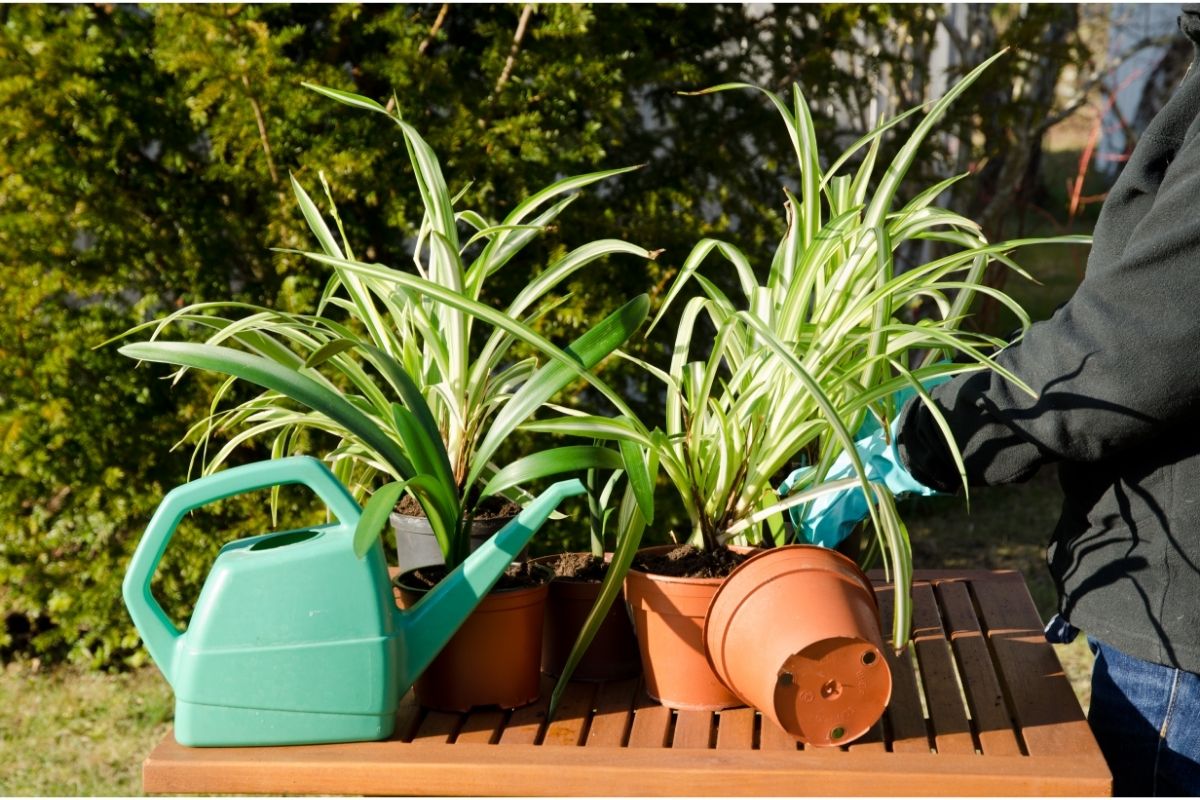
In the case of spider plants, you instead remove a spider plant baby, or spiderette, from the parent.
When doing this, it is necessary that you move very carefully. If you need to cut the baby spider plant away, be sure to use a pair of very sharp and sterilized scissors.
Don’t worry about cutting the stolen, if you do, if it is kept more spider plants will grow from it eventually.
Spider Plant Propagation In Water
This is our favorite method of spider plant propagation because you get to see your baby’s progress! Here is a step-by-step guide detailing exactly how to propagate your spider plant in water.
1. Fill a clean jar with water and let it sit for around an hour.
2. Gather your cuttings (as discussed earlier).
3. Place your cutting into the jar of water. You want the water to cover the bottom of the cutting, but not to reach the leaves.
4. Place the jar somewhere that receives a good amount of indirect sunlight.
5. Change the water when it gets cloudy.
6. When you have a good amount of roots protruding from the bottom of the cutting, remove it from the water.
7. Fill an appropriately-sized pot with a well-draining soilless seed starting mix. Make sure that the pot has drainage holes.
8. Make a ditch in the soil that is deep enough for your new spider plant.
9. Plant your new spider plant.
10. Give your new plant some moisture (but don’t soak it!).
11. Place your new plant in a spot that receives a nice amount of indirect sunlight.
12. Once some time has passed, gently tug on your snake plant. If you feel resistance, the roots have established themselves and your plant should continue to grow wonderfully!
RELATED: Spider Mites on Houseplants: How to Identify and Manage Them?
Spider Plant Propagation In Soil
This method of propagation is preferred by many people because it is technically easier. However, you aren’t able to see your cutting’s progress, and it can take a bit more time than the method above.
1. Gather your cuttings.
2. Fill a pot with a well-draining soilless seed starting mix. Make sure that the pot isn’t too large and has good drainage holes.
3. Make a small hole in the soil, large enough to fit your cutting.
4. Plant your cuttings.
5. Moisten your cuttings, but don’t soak them!
6. Place in indirect sunlight.
6. After some time has passed, check on your new plant. Gently pull on the leaves of the plant. If you feel resistance, the roots have established themselves.
Spider Plant Propagation By Division
No, don’t worry, we don’t mean mathematical division (cue flashbacks to AP calculus exams).
The two methods above are the most common methods of propagating spider plants, however, if your spider plant has gotten particularly large, propagation by division might be the best method.
1. Prepare two pots by putting 2 or 3-inches of soil in each.
2. Remove the spider plant from its current pot gently.
3. Use your fingers to loosen the dirt and take a good look at the roots.
4. Gently pull the tubers (water-rich, thick cylindrical roots) apart into 2 or 3 smaller clusters.
5. Don’t panic! It is normal for some roots to rip in this process.
6. If you can’t separate the plant using your hands, you can use a sterilized garden knife to cut through the tubers.
7. Plant each divided clump into a new pot.
8. Water your new plants regularly, but don’t soak them.
General Care

Unfortunately, once you have successfully propagated your spider plant, the hard work starts!
Once propagated, it is necessary that you follow up with the appropriate care, to ensure that you are giving your new spider plant everything it needs to thrive! Check out the general care tips and tricks below.
Light
Spider plants like a good amount of indirect light. If they are kept in the shade for too long, their growth won’t be very robust.
If they sit in direct sunlight for too long, their leaves could burn. We recommend placing your spider plant on a windowsill that receives a lot of gentle morning sun.
Water
Spider plants enjoy being in soil that is slightly moist. If they are overwatered, root rot could take hold.
As such, it is important to ensure that your spider plant isn’t ever sat in an excess of water. Also, spider plants can be sensitive to chlorine and fluoride, so use rainwater to water them if possible.
Soil
Generally, spider plants aren’t very picky about the soil. However, for the best results, plant your spider plant in loose, loamy soil with good drainage.
They also tend to thrive in soil with a neutral pH and don’t like overly salty soil.
RELATED: Spider Plant: 12 Stunning Varieties You Can Get For Your Home
Temperature And Humidity
Spider plants prefer slightly warm and humid conditions. They will struggle to grow properly if the temperature of their environment is less than 50 degrees Fahrenheit.

As such, if you have an air conditioning unit or drafts, it is important that your snake plant is protected from these.
If the humidity levels in your home are too low, the snake plant’s leaves may begin to brown. If this happens, don’t worry! Simply mist the plant with water from time to time.
This will help maintain the necessary humidity levels for your plant to thrive.
Fertilizer
If you want to give your spider plant a boost, we recommend feeding it around twice a month during its active growing seasons (spring and summer).
We like using an all-purpose granular fertilizer for our snake plants. However, it is important that you proceed with caution, as too much fertilizer can cause damage.
Frequently Asked Questions
If you still have some propagation or spider plant-related queries, don’t worry! We’ve included this handy FAQ section to ensure that all of your burning questions are answered.
Once you’ve finished reading this, you’ll be an expert on spider plants and propagation!
Are Spider Plants Toxic To Dogs And Cats?
Nope! In fact, one of the reasons that spider plants are so popular is because they are non-toxic.
If your cat or dog accidentally ingests the leaves of your spider plant, they should be just fine (your spider plant may not be though).
When Should You Propagate A Spider Plant?
Technically, you can propagate spider plants any time of the year. However, for the best results, we recommend propagating throughout spring or summer.
It will be easier and quicker to propagate throughout their active growing season.
How High Can A Spider Plant Grow?
Spider plants don’t tend to grow very high. The largest cultivars may reach a height of 2 feet, but most dwarf types will never grow to be that tall.
Rather than growing upwards, they tend to grow outwards and downwards.
Can Spider Plants Live Outside?
Yes! They can survive outside in USDA Hardiness Zones 9 through to 11. If you live in a colder climate, you should bring your spider plant inside if the temperature drops below 50 degrees Fahrenheit.
How Long Do Spider Plants Live?
Spider plants typically live for longer than 20 years, as long as they receive the proper care and attention.
In fact, some varieties have been known to survive for up to 50 years! To ensure the longevity of your spider plant, follow our general care guide above.
Final Thoughts
Spider plants are truly wonderful houseplants. They look lovely, they grow quickly, they’re simple to care for, and they are easy to propagate!
What more could you want? We hope that this article has inspired you to fill your house with spider plants!
After learning about spider plant brown tips, also read our other houseplant care tips:
Effective Ways To Get Rid Of Russet Mites On Houseplants
Potassium for Houseplants: How to Use It for Happier and Healthy Plants?


